Topics
Shape Tools
Have you ever wondered why InDesign has two rectangle tools? Well, I have. They’re really kind of redundant.
The Rectangle Frame Tool is a container for placing graphics. The Rectangle Tool is the same one as is in Illustrator. It’s meant for drawing rectangles. The thing is, you can convert one to the other. You can even make either of them a text frame.
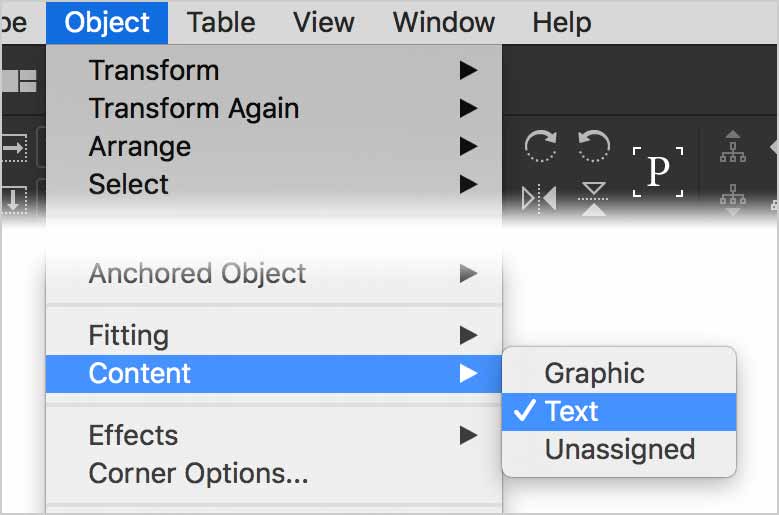
Just right-click on any shape. Choose Object > Convert… Select either Graphic, Text or Unassigned. An Unassigned frame is simply a general purpose box you can use as a graphic in a page layout. It’s neutral.
Corner Shapes
It’s super easy to edit the shapes of the corners on a rectangle.

Simply click the Edit Corners control. Yellow diamond-shaped controls will appear. Drag one to edit all corners or hold shift while dragging to edit only that corner.
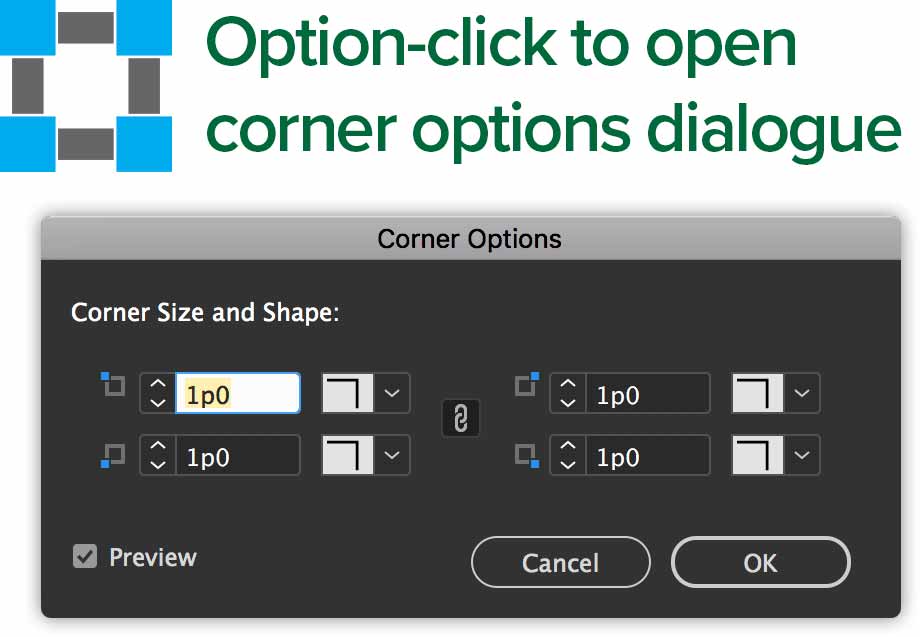
If you want to set corner radius by the numbers, go to the Options Bar. Option-click on the Corner Options widget to open the Corner Options dialogue.
Step & Repeat
In Illustrator, if you wish to repeat the last move or copy you performed, you’d hit ⌘-D. InDesign has a wonderful feature called Step & Repeat that does just that. Hit Option-⌘-U to invoke the dialogue.
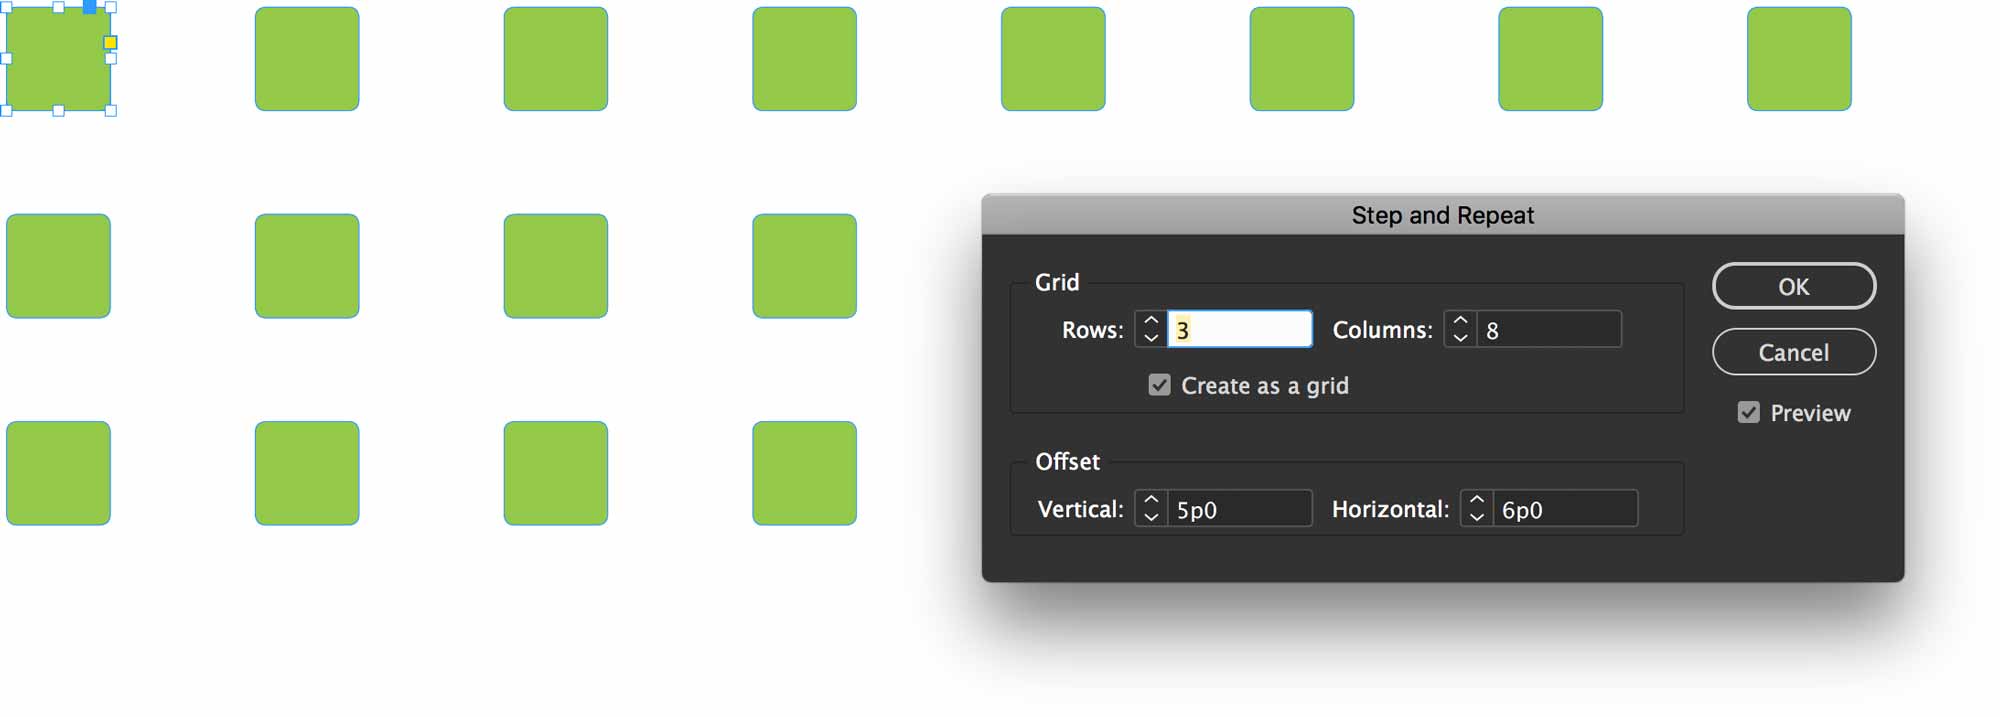
The functionality is really versatile. It’s a great tool for creating equally spaced objects.
The Pen Tool
Here’s a revelation. In my opinion, the Pen Tool in InDesign is superior to the one in Illustrator. It works exactly the same way, but I find it more accurate.
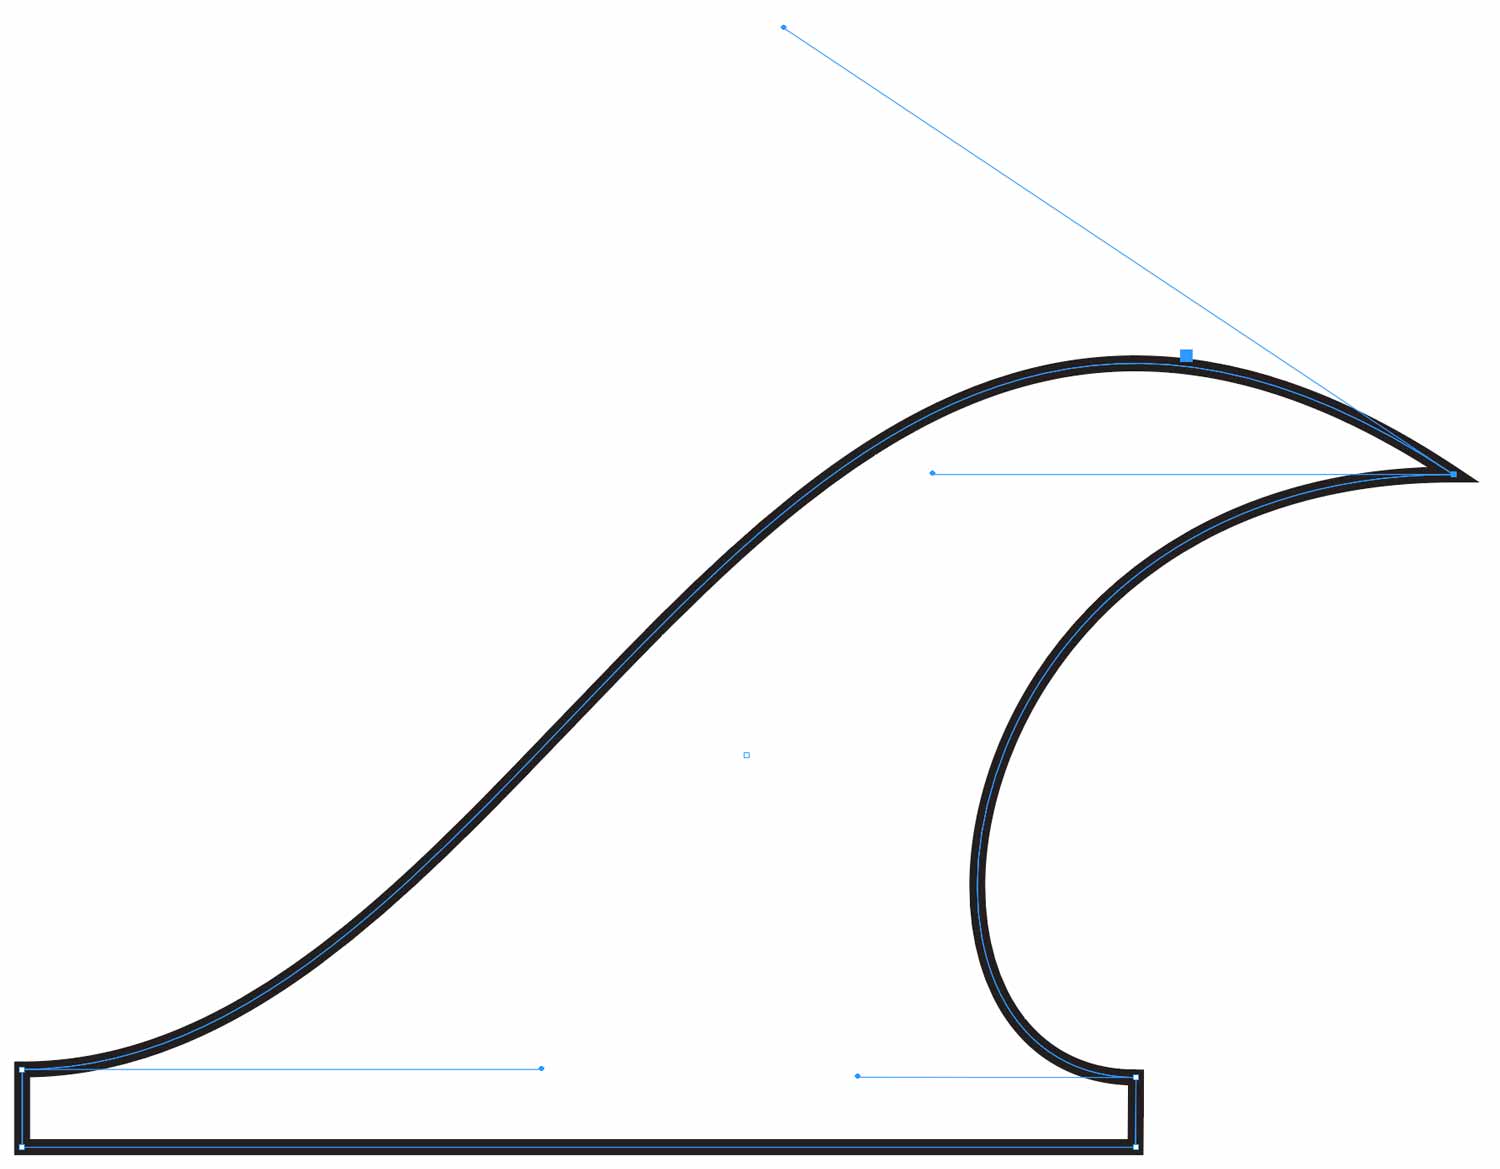
Use all the same techniques you’ve learned in Illustrator with the Pen Tool in InDesign.
Pathfinder
InDesign has a very versatile Pathfinder panel. It can help you build shapes based on other shapes.
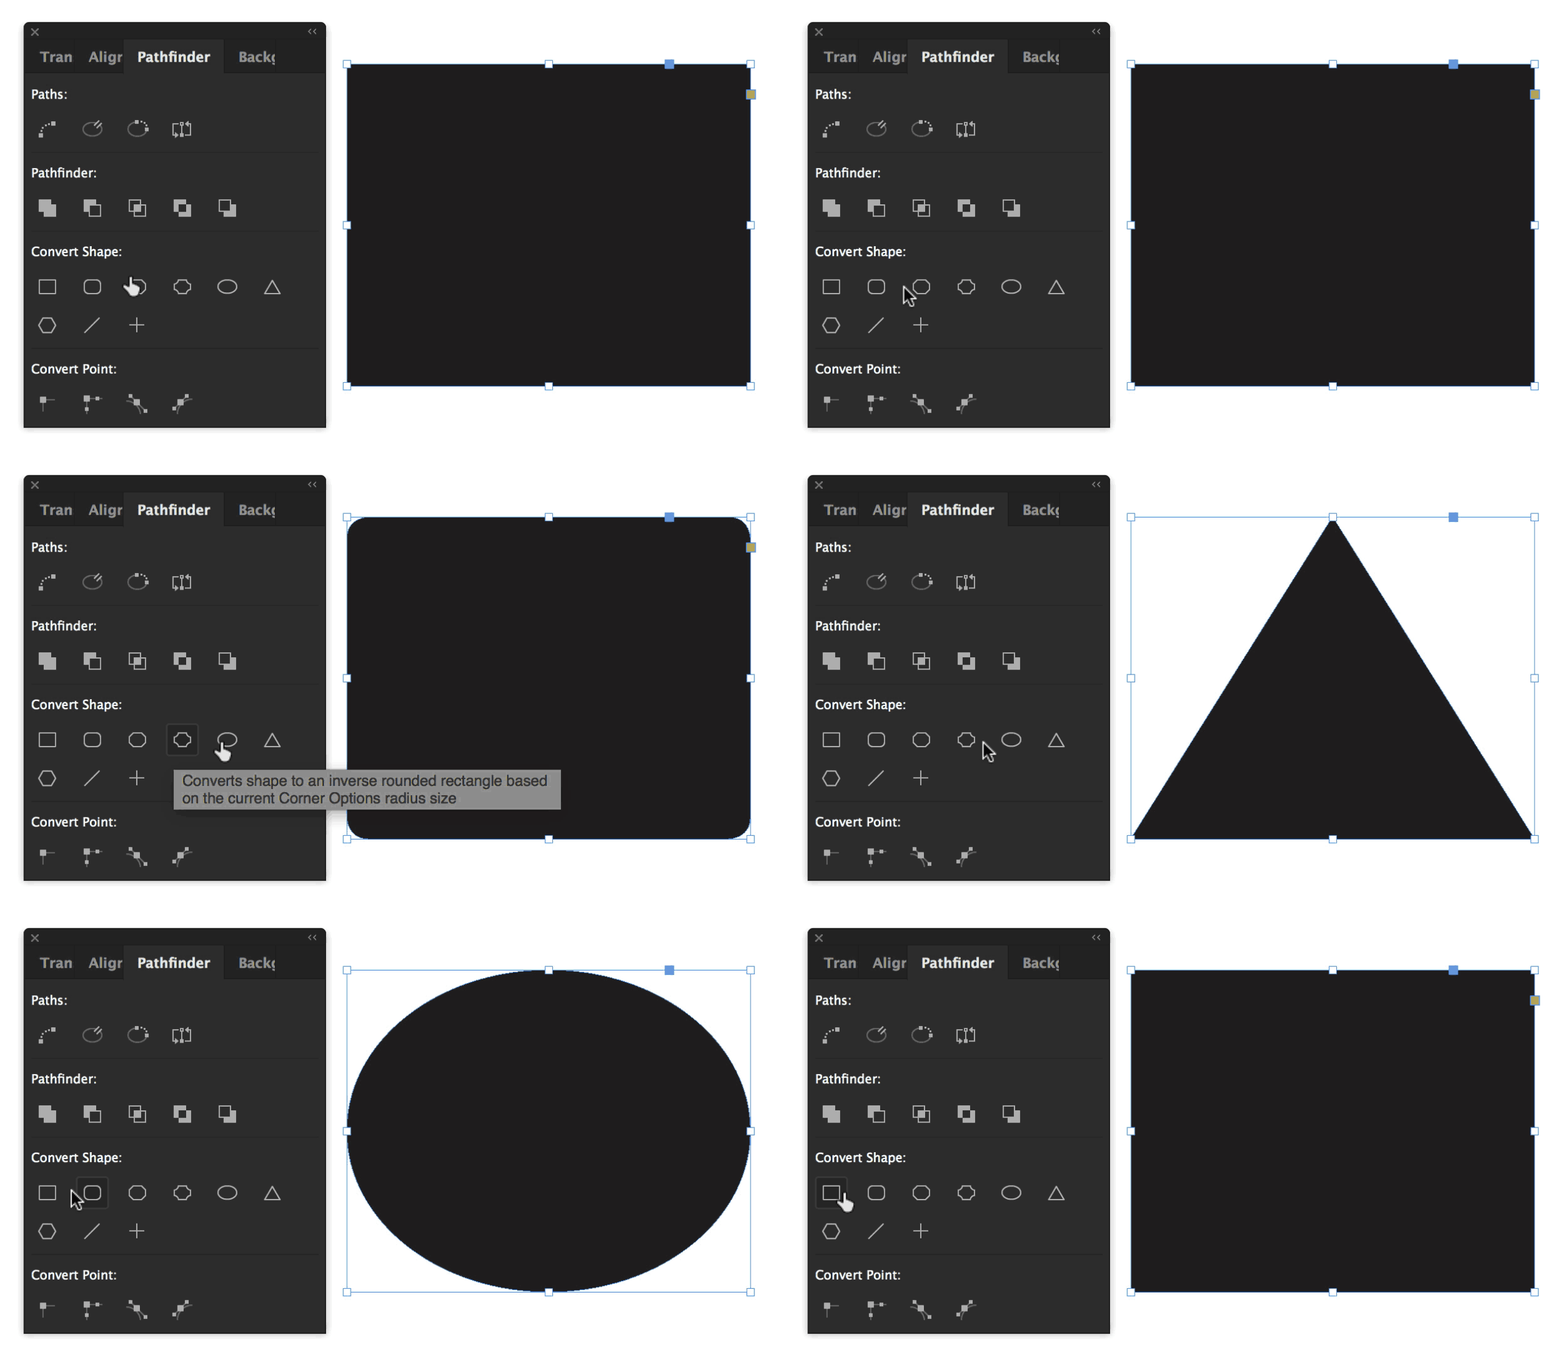
The basic Pathfinder operations work the same in InDesign as they do in Illustrator. The panel does contain more functions, though.
Supplemental Links
- Drawing in InDesign
- Adobe: InDesign’s Pen Tool
- Adobe: InDesign Pencil Tool
- Adobe: Adobe: Edit Paths in InDesign


