Topics
Drop caps serve as a clear visual indicator of the start of an important story in a magazine, web site or other type of publication. They can also be used to indicate a change of topic within the story, though special attention to hierarchy needs to be paid.
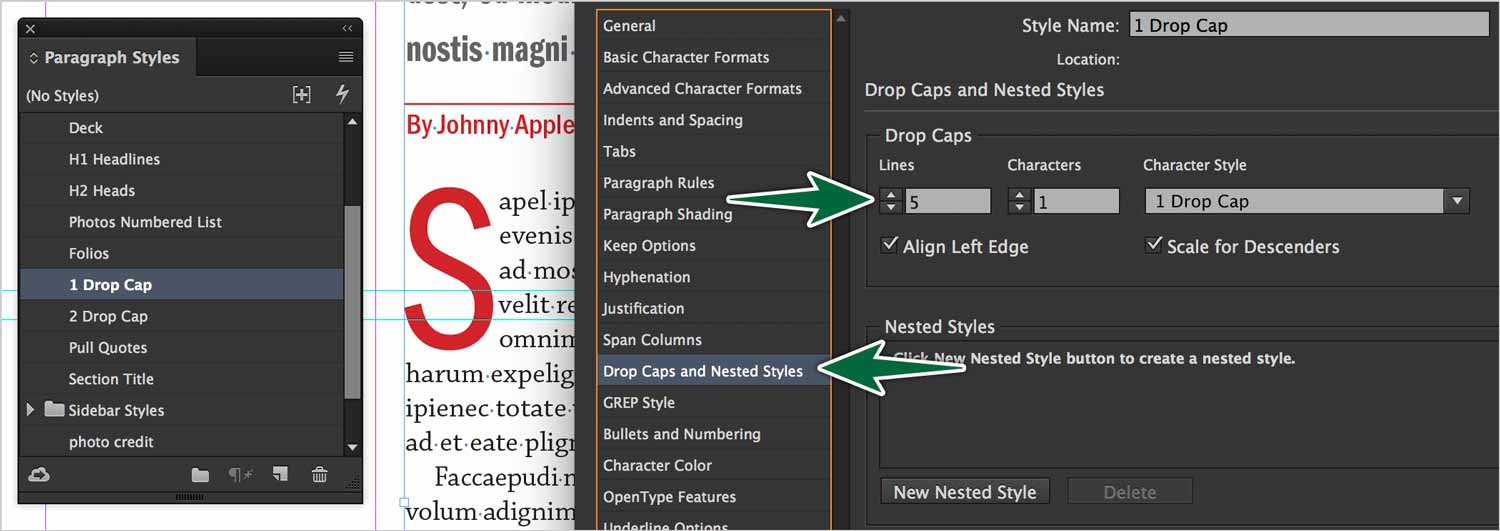
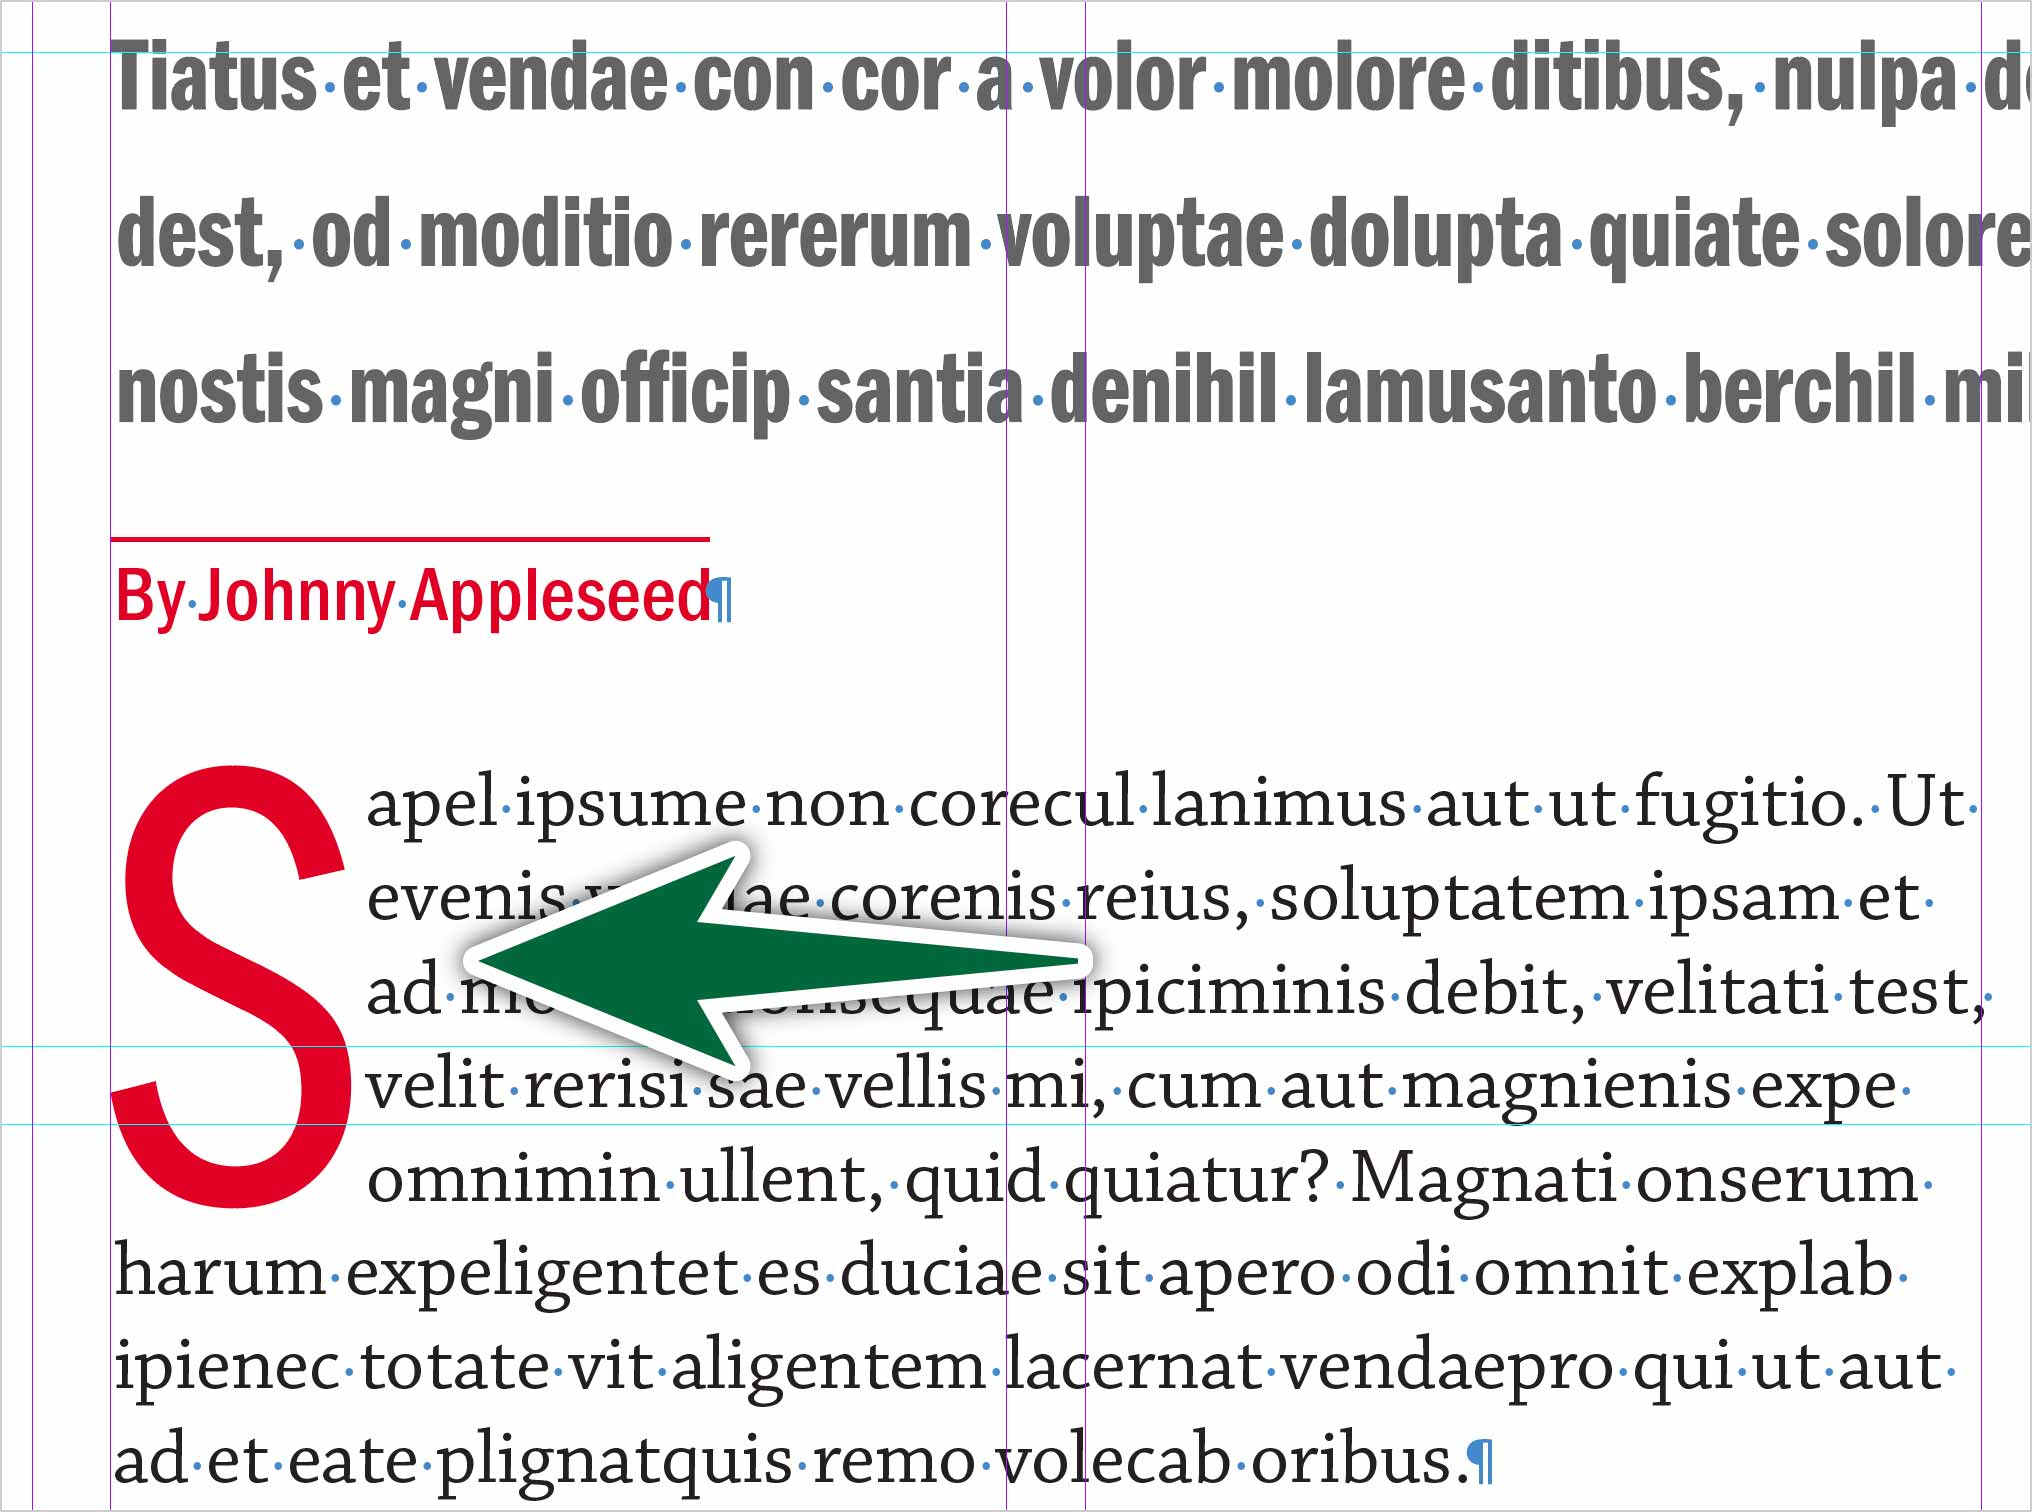
In InDesign, a drop cap is created with a Character Style within a Paragraph Style. This gives you the freedom of creating a drop cap with a different font than the body text. It can be set in a different colour too.
It’s best to create a new paragraph style for your drop cap. In that new style’s options, go to Drop Caps & Nested Styles.
Choose how many lines tall you want the drop cap to be. You can even specify more than one letter.
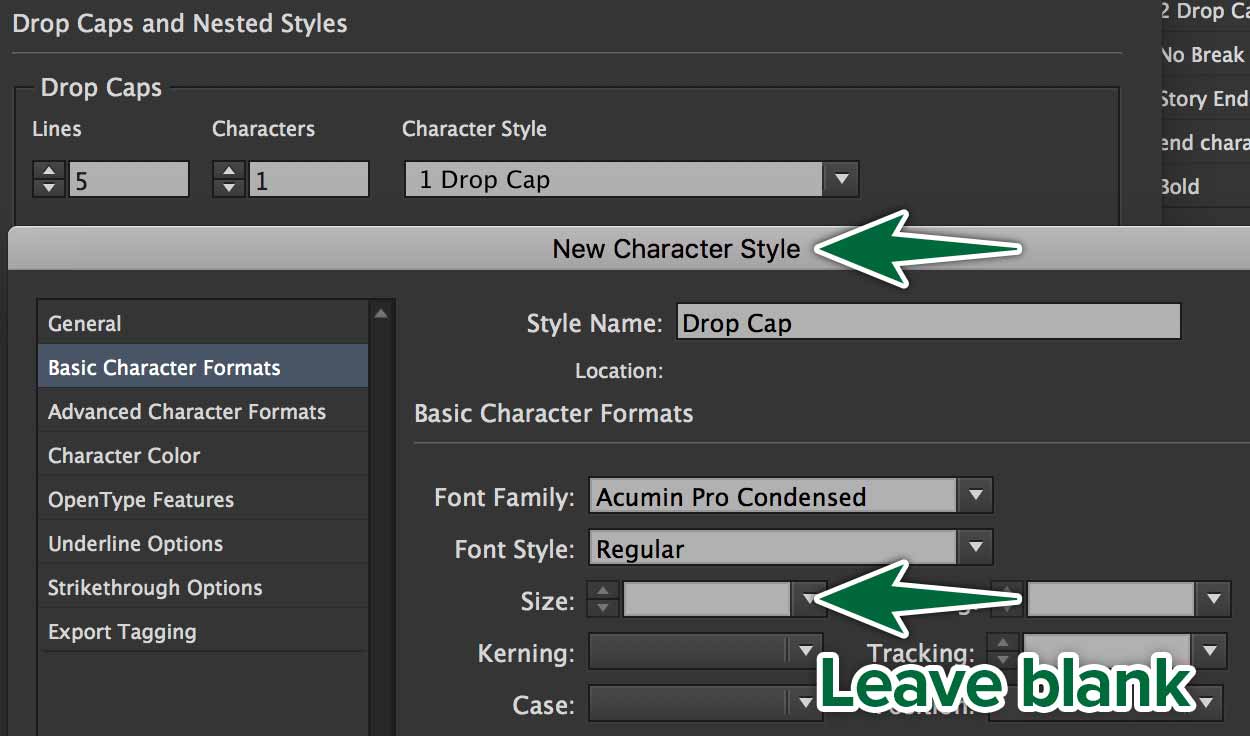
Your third setting is to create a Character Style. When you do so, never specify the type size. Let the drop cap settings do that. Click OK, the accept your Character Style settings and return to the Paragraph Style dialogue. Click OK again and you’re done.
Custom Drop Caps
InDesign’s drop cap functionality is effective and easy to use. What if you want a more decorative drop cap? Well, Illustrator can help you out here. This process will be more time-consuming, but the result has much more impact.
We’ll draw a custom letter in Illustrator, then place it as an image in InDesign.
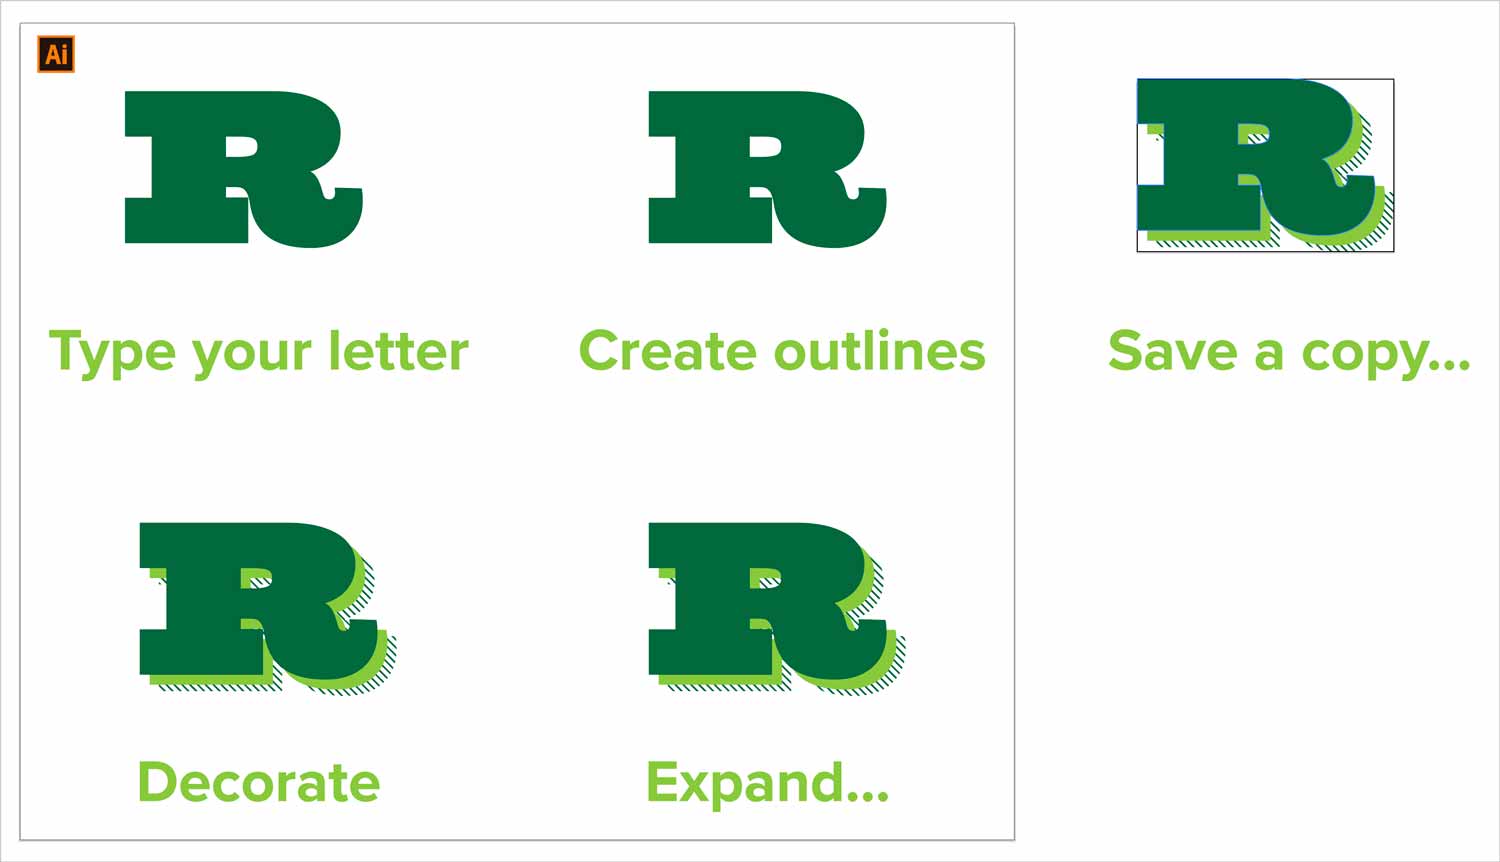
Sidle on over to Illustrator to create a custom letter to start your feature story. Follow the steps shown above. Once you have a completed letter, simplify it as much as possible by using Object > Expand….
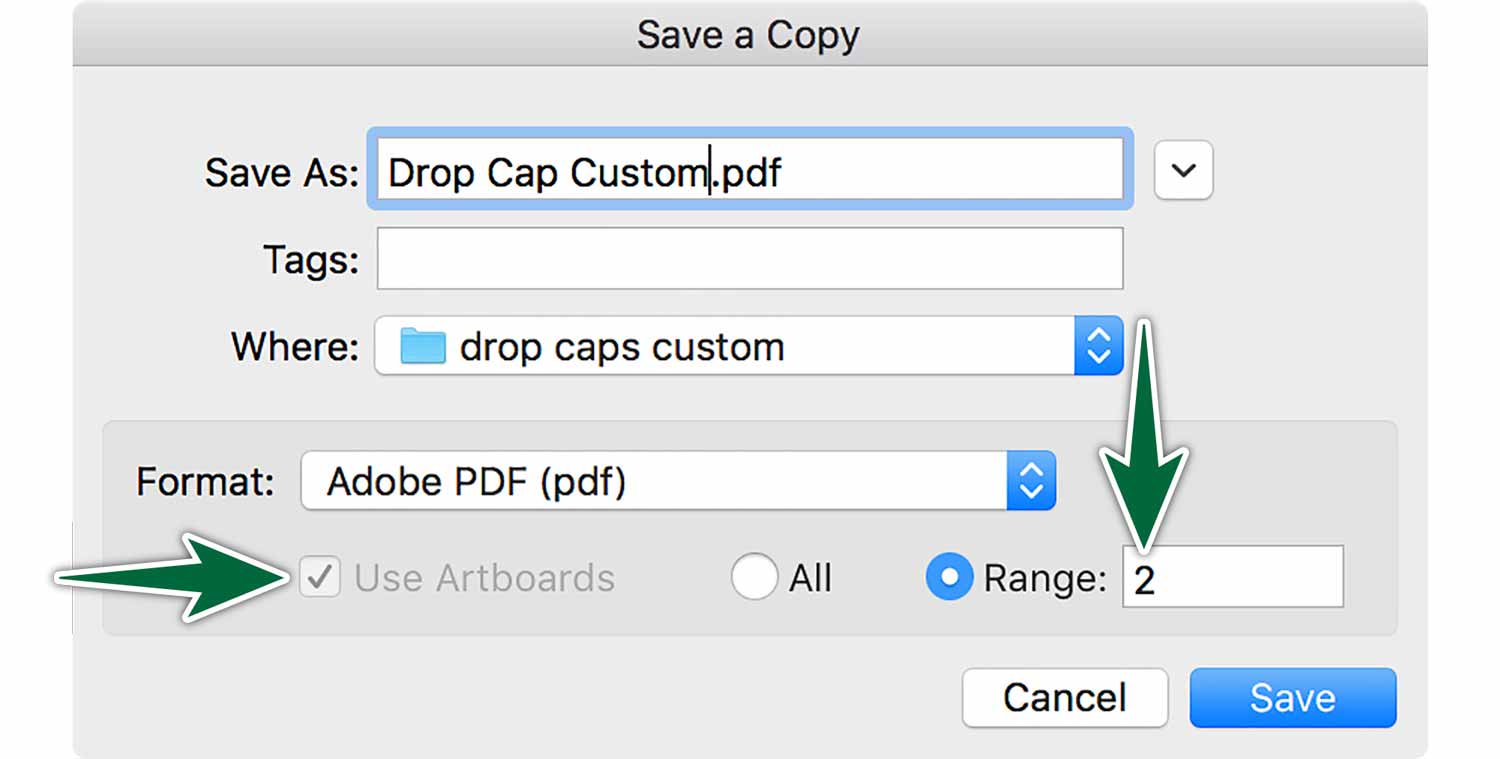
Copy the artwork onto a separate artboard, then save a copy of it as a PDF to place in InDesign.
In InDesign, place your cursor inside the first text frame, where you want the drop cap to be. You need to use File > Place to import your drop cap file.
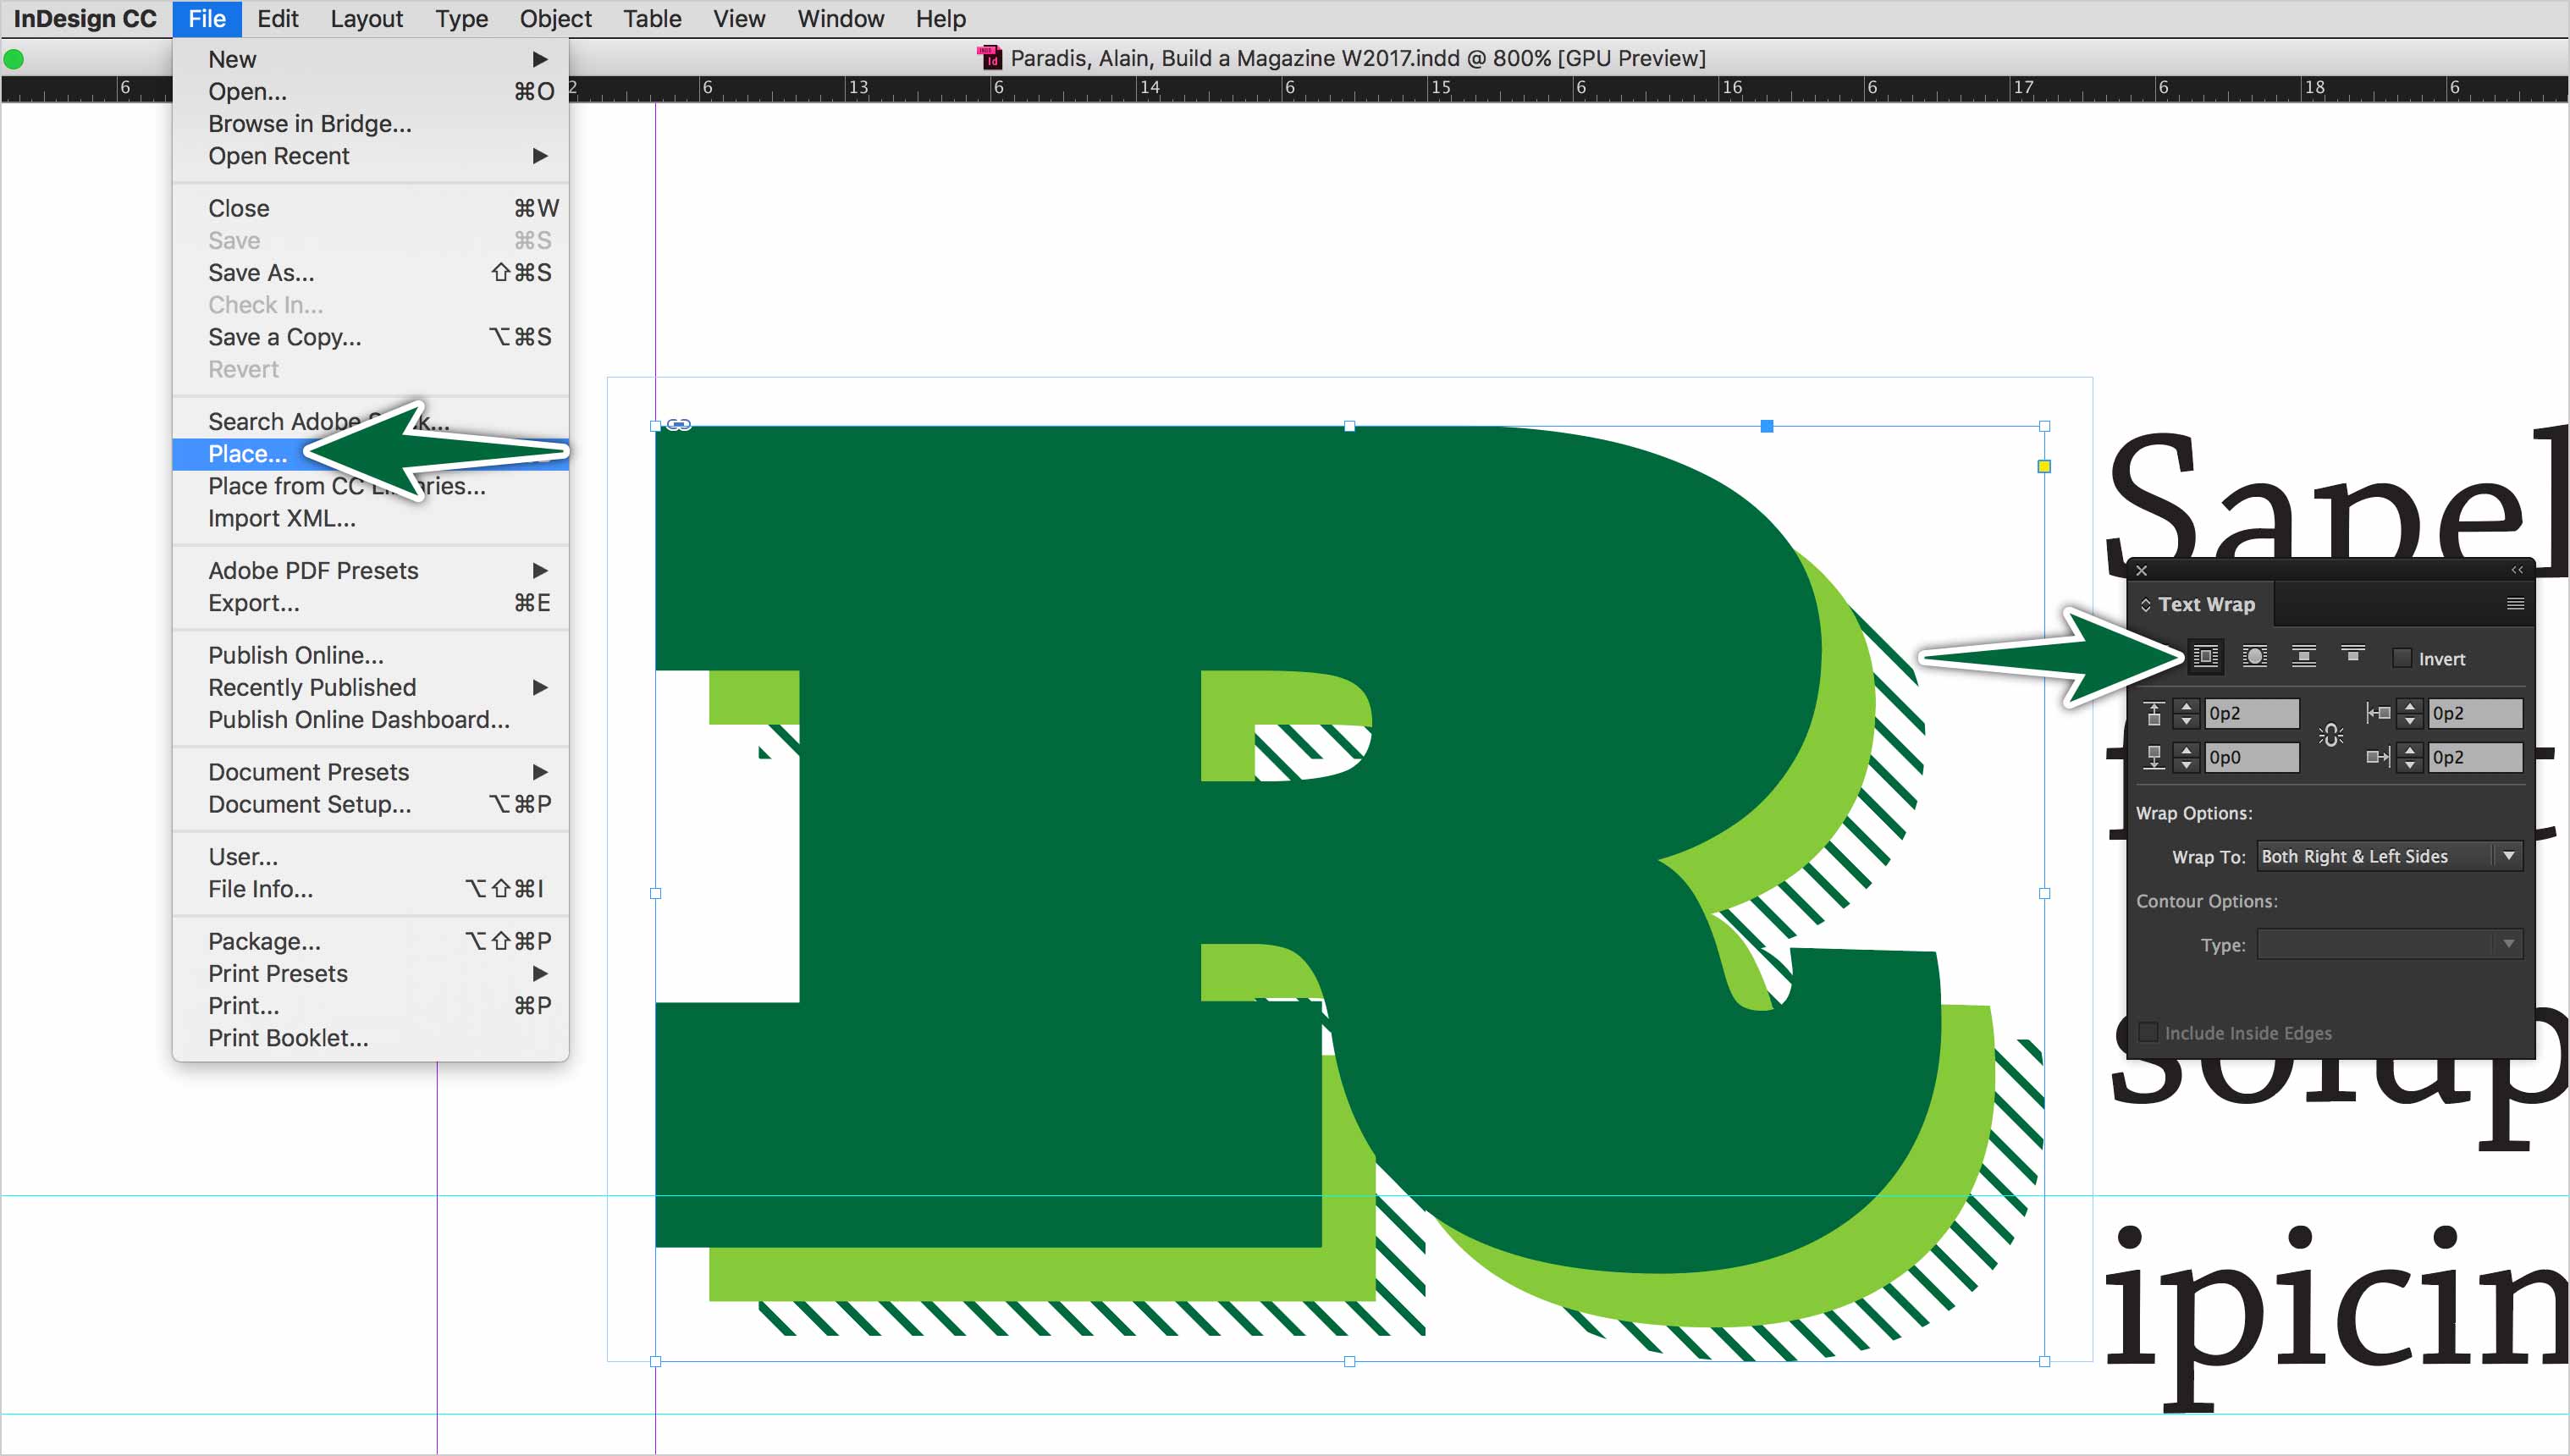
This will make the Illustrator file an anchored object in InDesign. This makes it that if you move the text frame, the drop cap will move with it.

