Topics
Your Assignment
You’re job is to create 6 mockup Photoshop files. The first is an overview of all the others. It’s a table of contents of sorts. It contains the five other images in your project.
Mix things up a bit. Some need to be on an object like a laptop, a phone or a paper notepad. Others need to use the Displace filter to map it to a textured surface.
Two Heads…
You should really team up with a classmate to do this project. You’ll help each other with the creative and with the execution. Your partner can help you choose which pieces to include. Finally and most importantly, they can serve as an extra pair of hands while taking photos and building the final mockups. You’ll each end up with your own individual, different and separate projects.
Content
You need to choose which of your design projects you want to include in the initial version of this project. Remember, you’re creating this in a way which will allow you to add or change projects in the future. You need to focus on the type of work you want to do in industry. It would be a good idea to show your focus by emphasizing your specialization. Include other projects to show your versatility. As an example, you may want to focus on Web design, so you’ll show a lot of that in your project. You’ll also include some print pieces to show your versatility and design smarts.
You’ll be taking photos of objects to include in the mockup. These need to reflect your personal style. You’ll need to work with your partner to find an appropriate setting for your photography. Since we’re working in Photoshop, you can obviously piece together elements from many places. Remember, the setting of your photos should not over-power the visibility of your portfolio pieces; it should complement them.
You’re going to story-board the project. This basically means sketching each file with the position and size of each portfolio piece. This process also demonstrates the sequence of the files which progress through your work in a logical way. You’ll also create a style tile to guide the design of your files. These will include type, textures, objects, borders and photographic styles.
The Bigger the Better
These are going to be built to be versatile. They’ll be large enough that they could be printed in large format. They could be sized down for viewing on a laptop or a tablet. They could easily be integrated into a Keynote slideshow. The goal is to build it big, so it can be re-sized for any device. Each document will be 11” x 17”; (or 17” x 11”) at 300dpi in RGB.
Your project will consist of one overall view of your work. These are generally shot from above, as shown in this example. It will include objects which represent you, but may have little to do with the portfolio pieces. These can be conversation starters while showing your work to a prospective employer. Following this, you’ll have one file per portfolio piece.
Dos and Don’ts
- Build everything yourself. No pre-done artwork aside from devices.
- Build this for yourself. Build it also as a template for others.
- Collect themed objects for your shoot.
- Limited or no photoshop backgrounds allowed. Only photographed ones.
- Include elements of personal style.
- Include a human factor like hands or soft focus people.
- Short depth of field is attractive. Brings attention to the subject matter.
- Useful Link: www.apple.com/pr/products/
- No drawing devices in Illustrator.
- Clean off your device to photograph it. No smears or scratches.
When you’re shooting your own mockups, avoid using too strong an angle, as shown below.
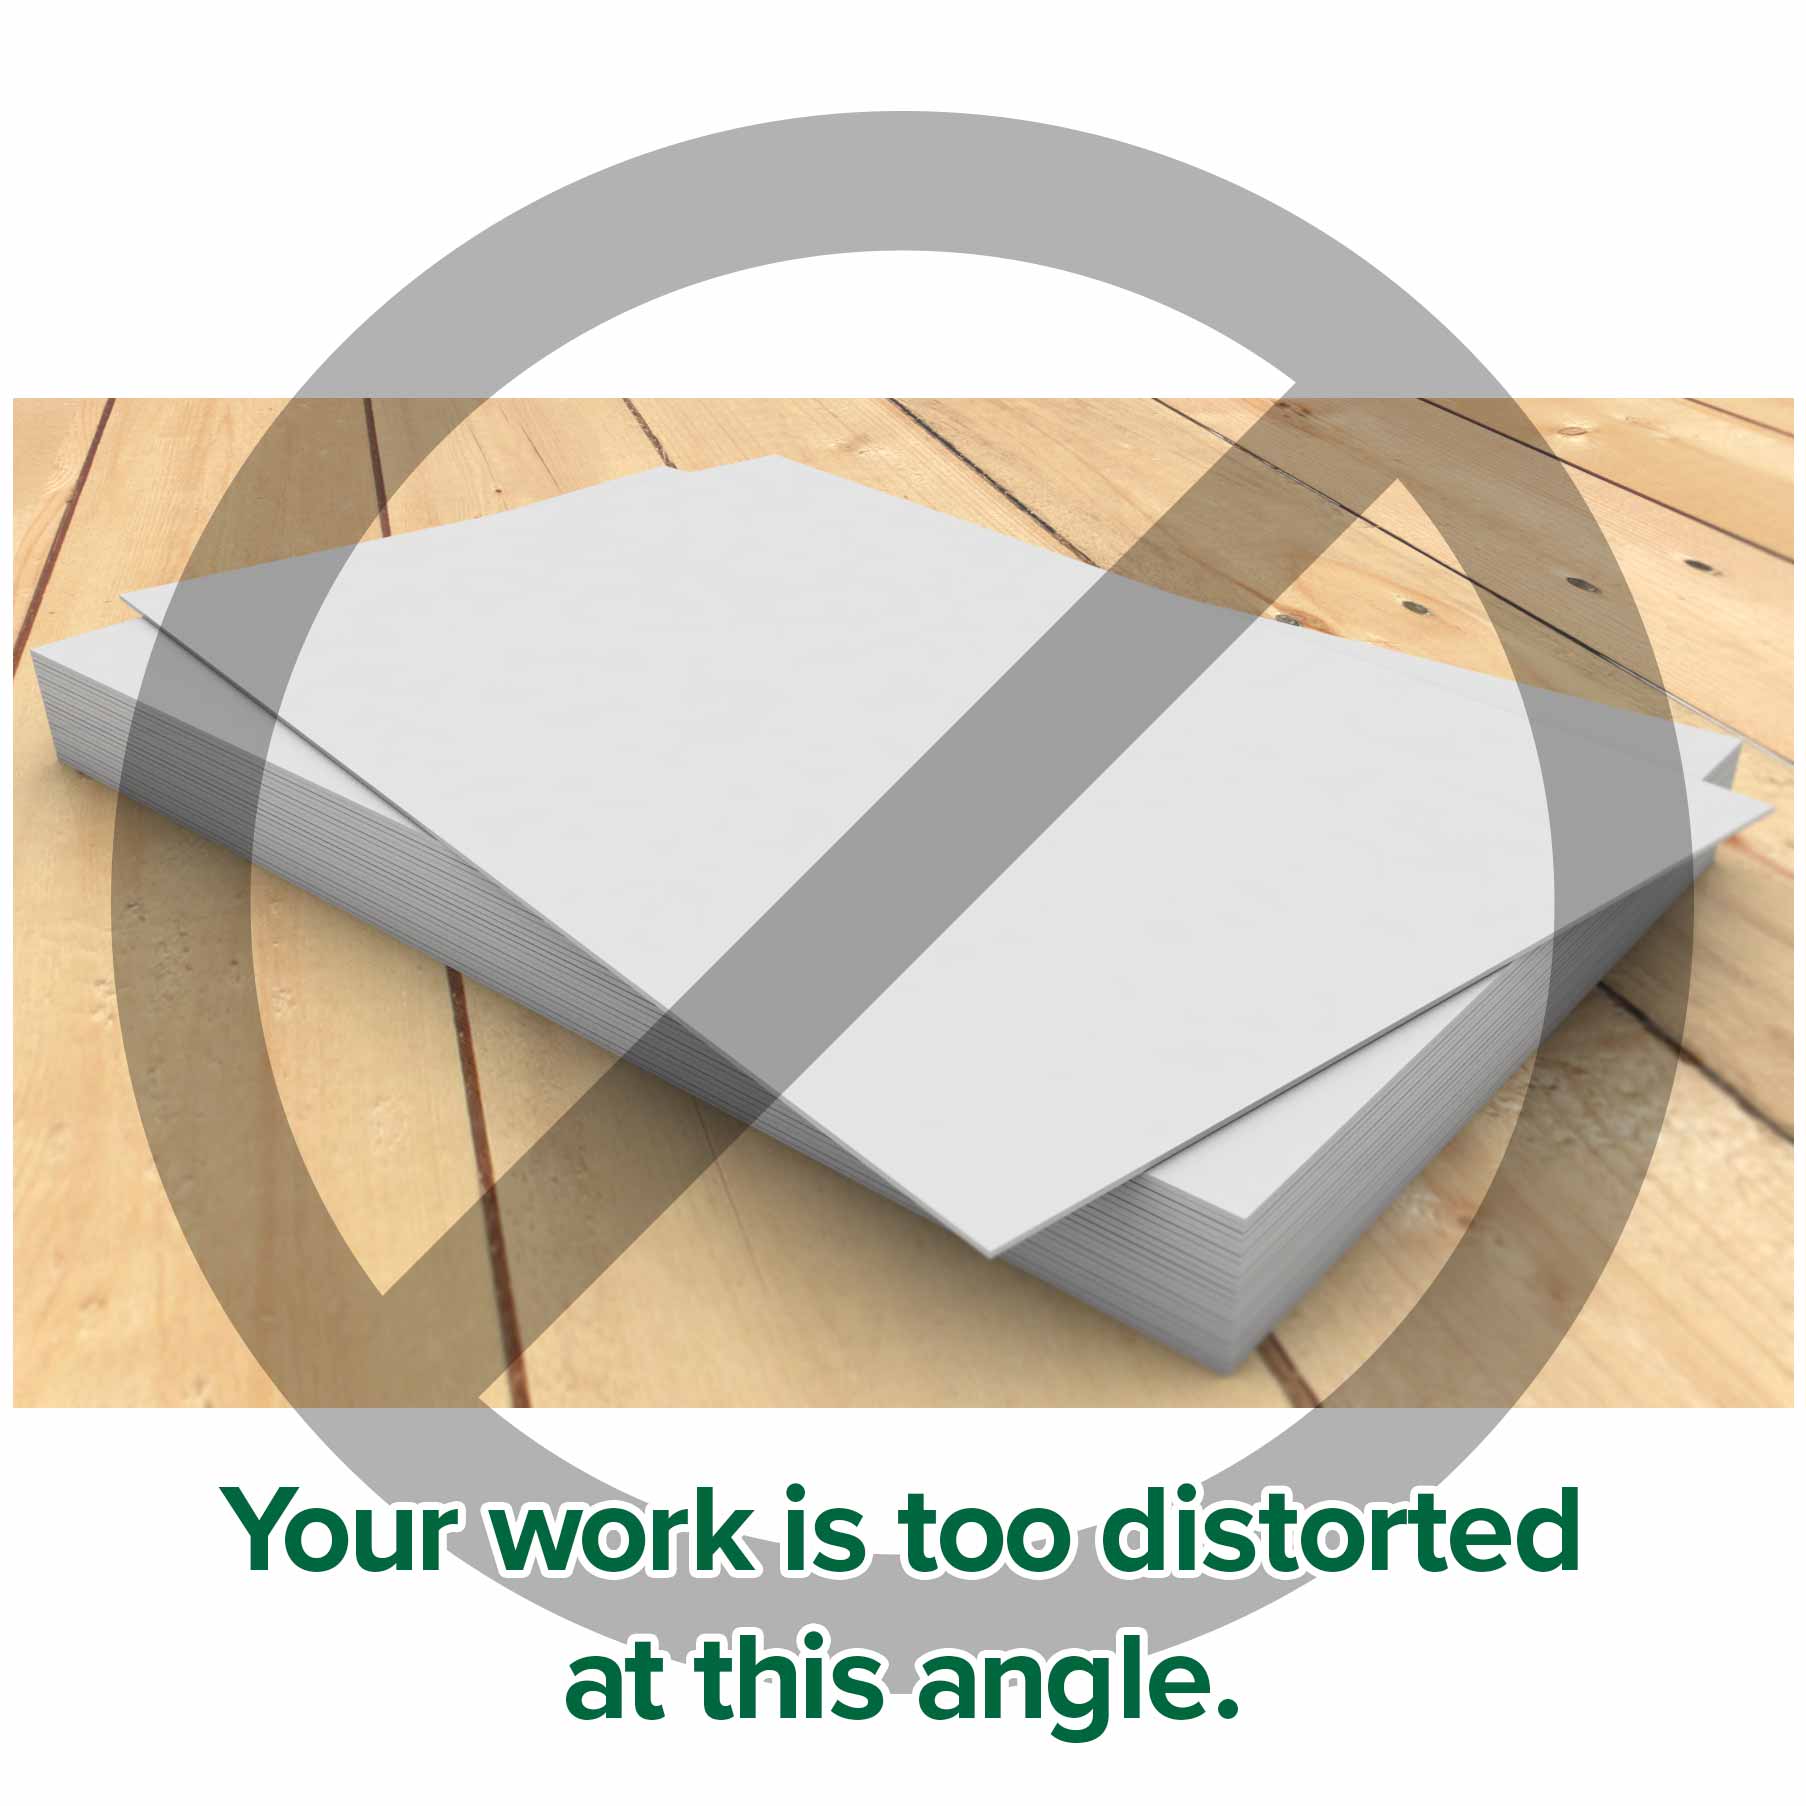
At this angle, your portfolio piece won’t be easy to interpret. Details will be lost. The shape is too distorted.
Aesthetics
Your design should be original. This means that you need to avoid cliché aesthetics. It also needs to reflect your personal style. The look of each file should vary yet be consistent in style. This means you’ll change camera angle and scene location.
Technical Proficiency
Your Photoshop file should be as editable as possible. To achieve this, you’ll use Layers, Smart Objects, Layer Effects and more. Each file needs to measure 11”; x 17”; at 300 dpi, either landscape or portrait. The orientation can change per file.
Deliverables
- Create a folder named Appleseed, Johnny, #, Mockups to contain everything.
- Minimum 6 Photoshop files
- This includes your first table of contents file, then minimum of 5 portfolio pieces.
Name your files starting with a number, so they’re in the order in which they should be presented. Example:
- TOC.psd
- mobile.psd
- branding.psd
Create a naming convention for each file that suits you. Make it consistent and meaningful, so you know what each is at a glance.
If you’ve used any type, you’ll need to include the fonts. (Use of type should be very minimal.)
Save a copy of each of your layered Photoshop files as a JPEG. Create a PDF document with them.
