Topics
Why Create Brushes?
In this project, our goal is a very natural media aesthetic. The strokes we’ll apply in Illustrator will be our own creations. This makes our artwork all the more unique.
Creating very authentic looking painted artwork in Illustrator is a lot of fun. We’ll explore the process from paint brush to vectors, aiming to get a very natural look. The very first step is to draw on paper with paint and actual brushes.
If you want to see some fine examples of this type of artwork, saunter over to Glitschka Studios. He’s a talented artist who really makes the most of Illustrator’s paint capabilites.
Brush Strokes on Paper
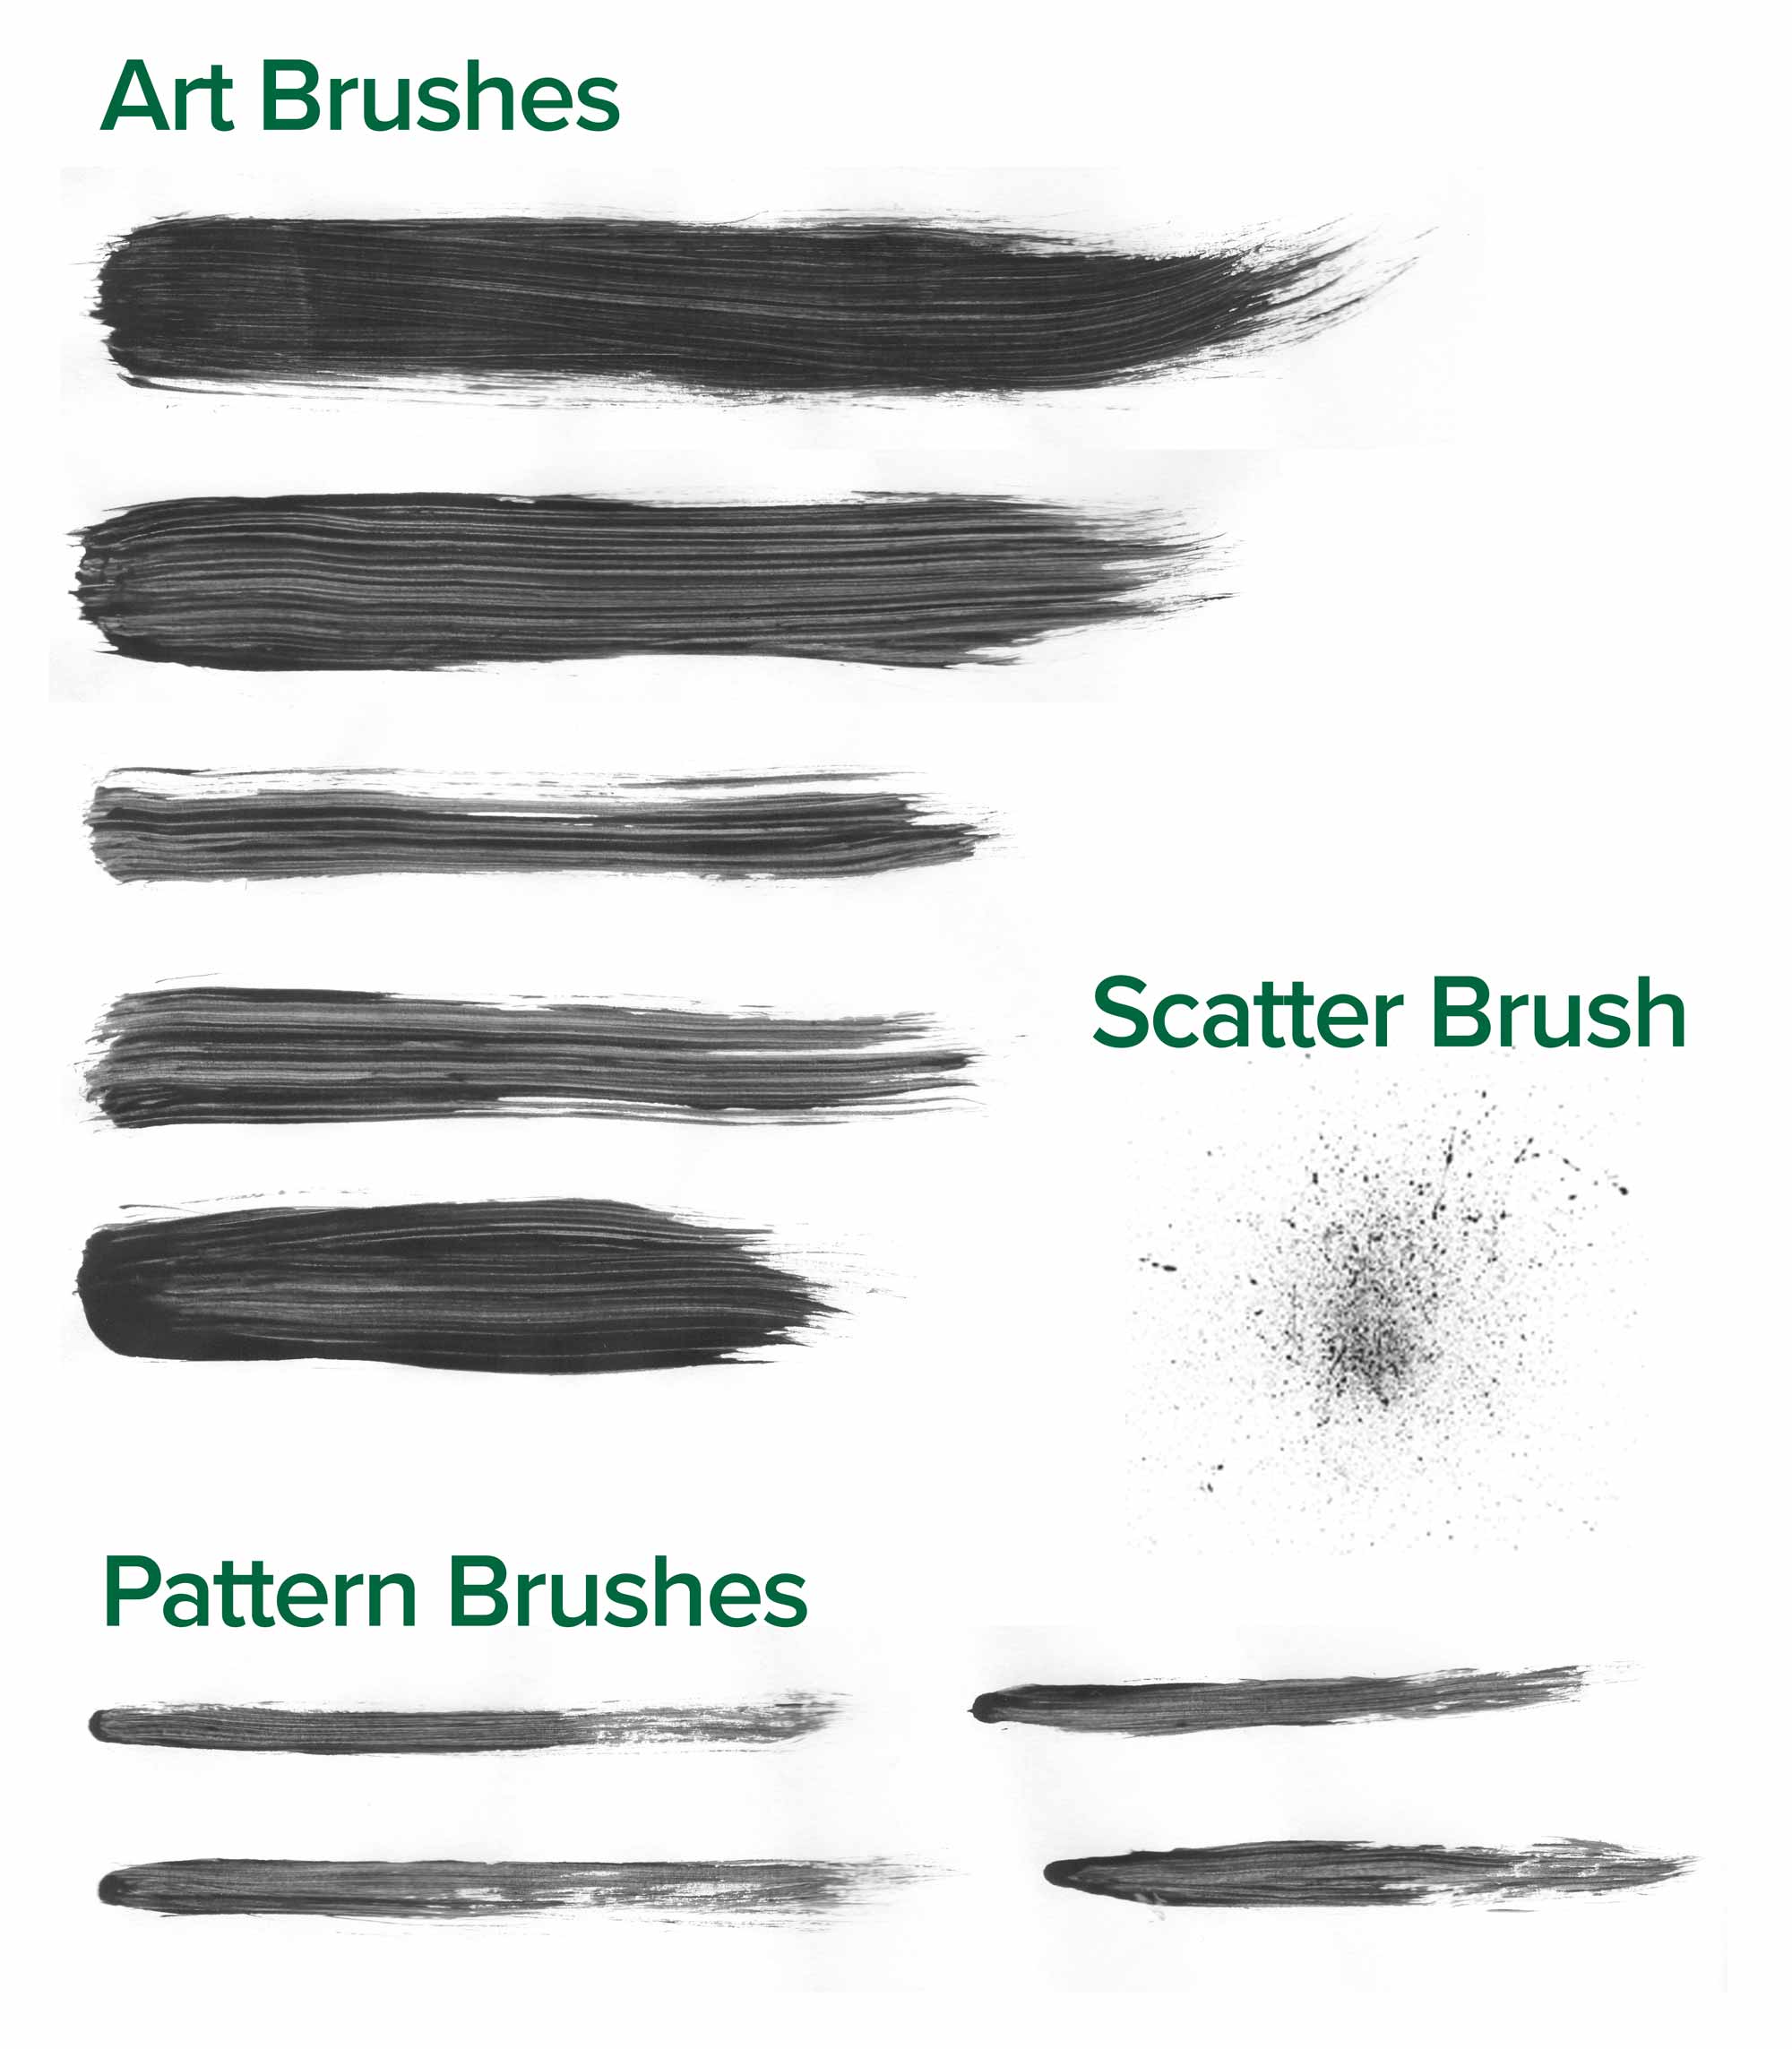
We’ll start by painting strokes on paper. We’ll need to paint a variety of types of strokes. Make variations on three different types. Create strokes of varying darkness, length and width. These will made into Art Brushes. Make narrower strokes for line work, which will be made into Pattern Brushes. Lastly, use a old toothbrush to spatter paint on the page. These will be made into Scatter Brushes.
Formative Activity
Scanning Strokes
Use the Image Capture app to do your scans. It’s your best bet for all your scanning needs and it’s right in your Applications folder.
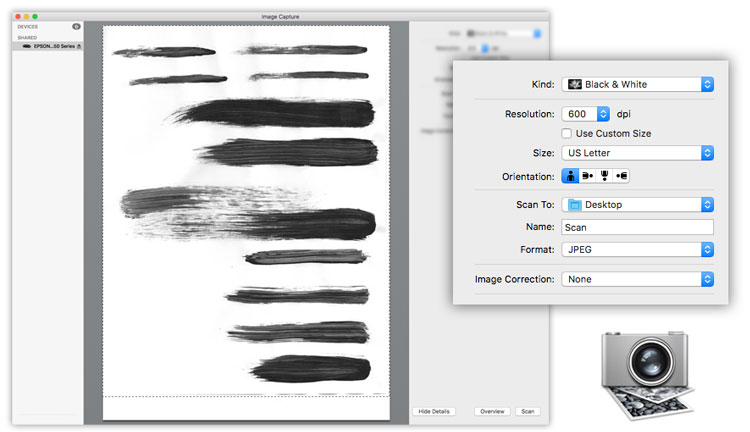
Note: In this case the Black & White setting really means Greyscale. Never use the bitmap scanning mode – ever. Scan in greyscale, then convert a copy of the file to bitmap mode in Photoshop.
When we scan our painted stokes, there’s a lot of grey in them. We need to make this completely black. We’ll use Levels and Threshold Adjustment Layers to get there.
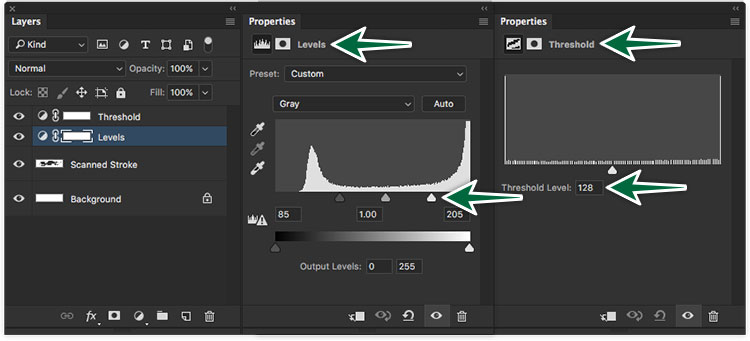
Add a Levels Adjustment Layer first. Squeeze the sliders toward the center to increase the contrast. Once you’re satisfied with the result, you can add a Threshold Adjustment Layer to get rid of any remaining greys. You can use the slider to affect the black/white balance.
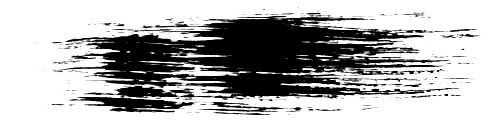
The result will look pixelated, but this will be resolved when you use Image Trace in Illustrator. If ever you don’t like the traced result, go back to Photoshop to change the Adjustment Layer settings.
Once the brush stroke is completely black, we’ll save it as a PSD file. Save the native file into your project folder as a .psd with all its layers, so you can come back to it to make changes if needed.
Let’s Make Vectors
Create a new Illustrator document. The default letter size will do. Save it into your project folder.
Go File > Place… to import our brush Photoshop file. Select the image, then go Window > Image Trace…
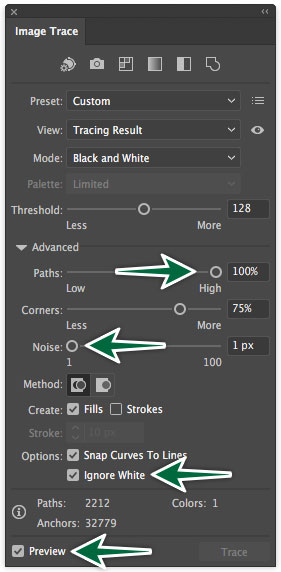
We dial up Paths to have Illustrator trace every crumb of our black artwork. We reduce the Noise setting to actually increase the amount of noise.
The final step is to click on the Expand button in the control bar to actually vectorize our artwork.

It’s a good idea to make your brush stroke a Compound Path. This makes Illustrator treat the artwork as one chunk of vector despite the fact it’s made up of many pieces.
Creating Brushes
We will practice applying the brushes to artwork to experiment with stroke weight, colour, shapes, opacity and blending modes. The goal is to achieve a natural and organic look.
We’ll create Illustrator brushes from vector artwork. We’ll create three different types of brushes.
- Art Brushes
- Pattern Brushes
- Scatter Brushes
Create an Art Brush
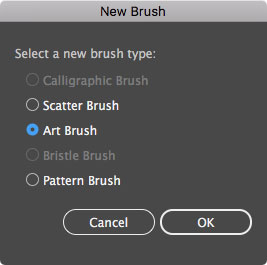
Drag our vector artwork into the Brushes Panel. Illustrator will ask which type of brush we want to make. In this case, it’s an Art Brush.
We want to leave all but one setting in the Art Brush Options dialogue.
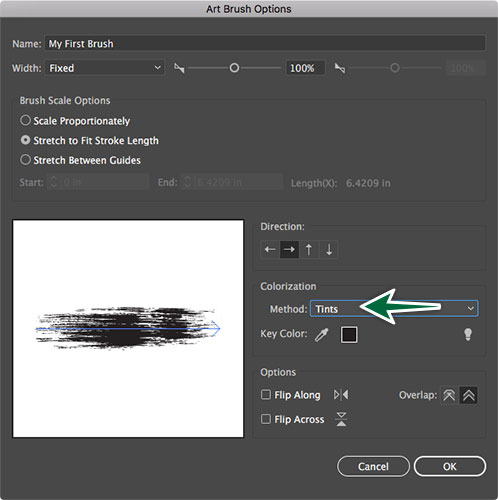
Only change the colourization method to Tints, so we can edit the colour of the brush on the fly. If we don’t choose this, it will be an only-black brush.
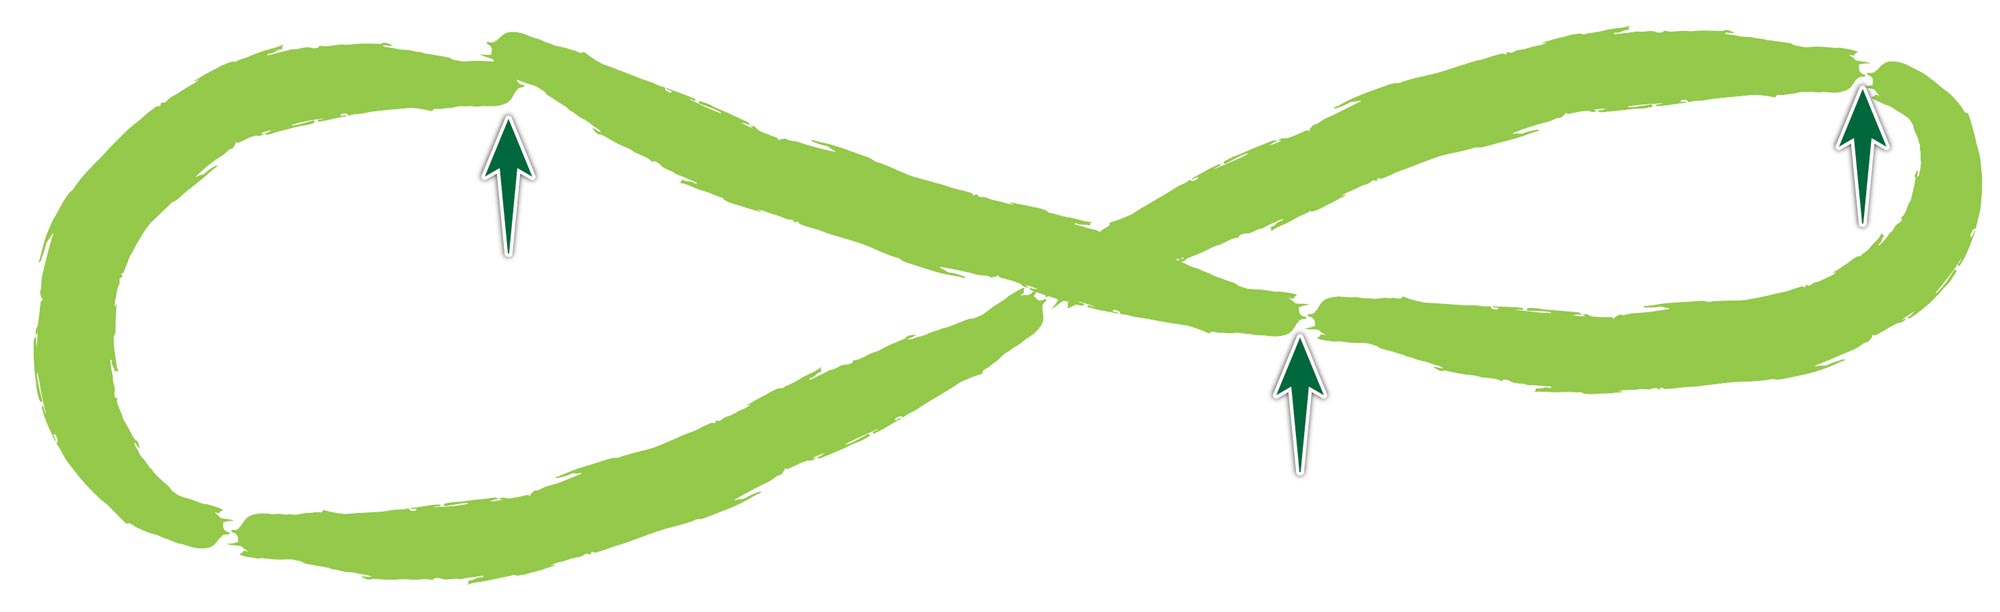
Now you can apply the brush to an existing stroke or brush with the Brush Tool to see what it looks like.

You can get really interesting results once you start layering paint strokes with transparency and blend modes.
Create a Pattern Brush
This brush is for line work. We’ll want a narrower brush to add a textured stroke to some of the shapes we draw. Sometimes the bigger Art Brush is too wide for this. A narrower brush stroke comes in handy.
In the Pattern Brush Options dialogue, leave only the straight-away artwork. Set all the corner options to None.
Remember to set Colourization Method to Tint so you can change the stroke colour of the brush.
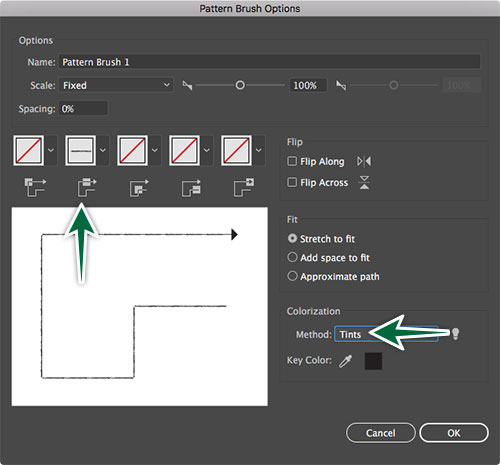
We’ll make our line-work brush a Pattern Brush so the artwork will repeat rather than stretch. The repetition won’t be apparent at all when you use it in your illustration.
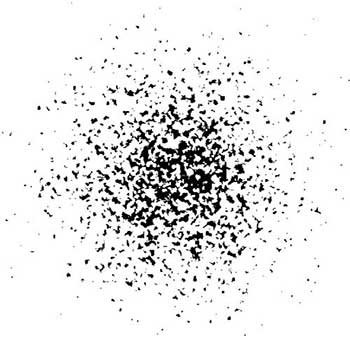
Create a Scatter Brush
A scatter brush is really fantastic for adding texture and shading to your painting in Illustrator.
Go through the usual process:
- Open the artwork in Photoshop.
- Add Levels and Threshold Adjustment Layers to make the artwork black.
- Save as a layered .psd file, then place it in Illustrator.
- Image Trace the graphic with the previous settings.
- Click the Expand button to vectorize the artwork.
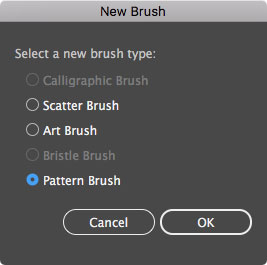
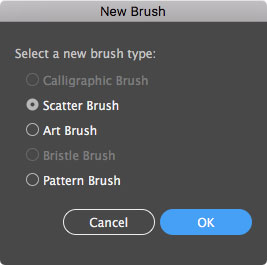
Drag the vectors into the Brushes Panel. Choose Scatter Brush as an option.
We’ll need to edit the settings so the brush strokes overlap to make continuous spatter strokes. The best way to preview the result of the options is to create the brush with the default settings. Click OK. Apply the default brush to a stroke, then double-click on the brush again to open its settings. Turn on Preview.
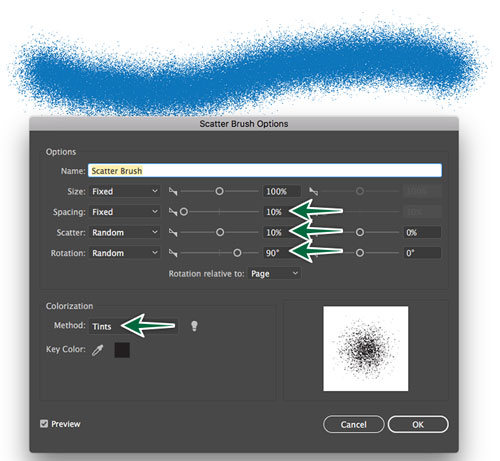
Name your brush. Edit the Size, Spacing, Scatter and Rotation settings to make the existing stroke look the way you want.
Always make sure you change the Colourization Method to Tint to ensure you can change the stroke colour.
Save Brush Libraries
Once you’ve created brushes, they’ll only be in the one Illustrator document. It’s best to export the brush library so you can load it into a new document.

In the Brushes Panel menu, you can save and load brush libraries. It’s best to save your new custom brushes as a file on your computer so you can load them into any document.
When you save the brushes file, it’s actually just an empty native .ai file. To load it into another document, simply go to the Brushes Panel menu, then choose Open Brush Library > Other…
