Topics
Your Assignment
Your InDesign Document
Once you’ve chosen all of the design pieces you want to include in your portfolio, you’ll need to save them each as separate PDF files. Those PDFs will be imported into InDesign. The InDesign document will be saved as an interactive PDF file.
The final PDF portfolio file will likely ever only be shown on screen, but it could also be printed for an employment record. We’ll ensure the quality is good enough for both intents.
Presentation Dimensions
We want to make our presentation look as good as possible on screen. Happily, a majority of users in our little design bubble use MacBook Pros with Retina screens. I know you do, at least. If you are displaying your portfolio on your Retina laptop, these are good dimensions to use: 3260 pixels wide by 1830 pixels tall. You can actually create your InDesign document at these dimensions.
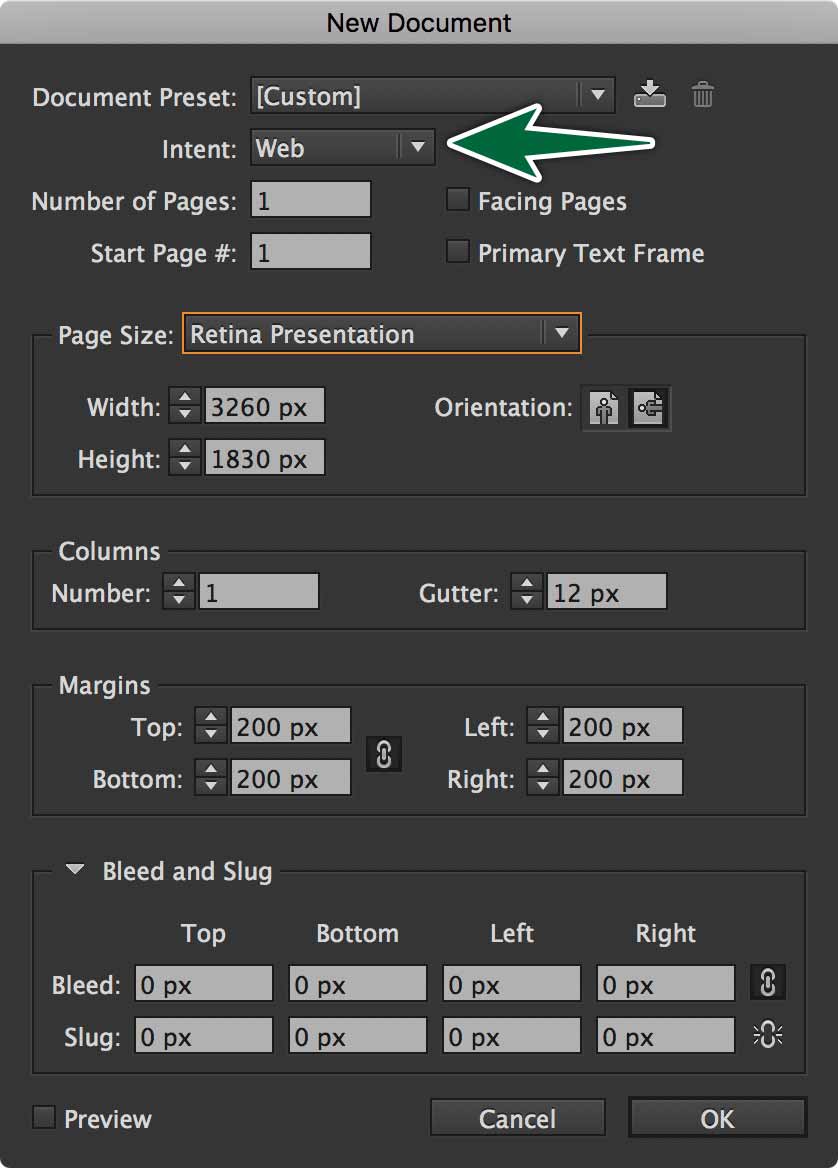
This displays at 100% on a Retina MacBook screen with a little margin around the perimeter.
Illustrator to PDF
Our PDF file is going to be shown on screen, so it’s best to convert the file to RGB mode in Illustrator. We do this in Illustrator because if we let the Save As PDF process do the colour conversion, we may get unexpected results. Before converting colours, save a copy of your file. Don’t convert your original artwork.
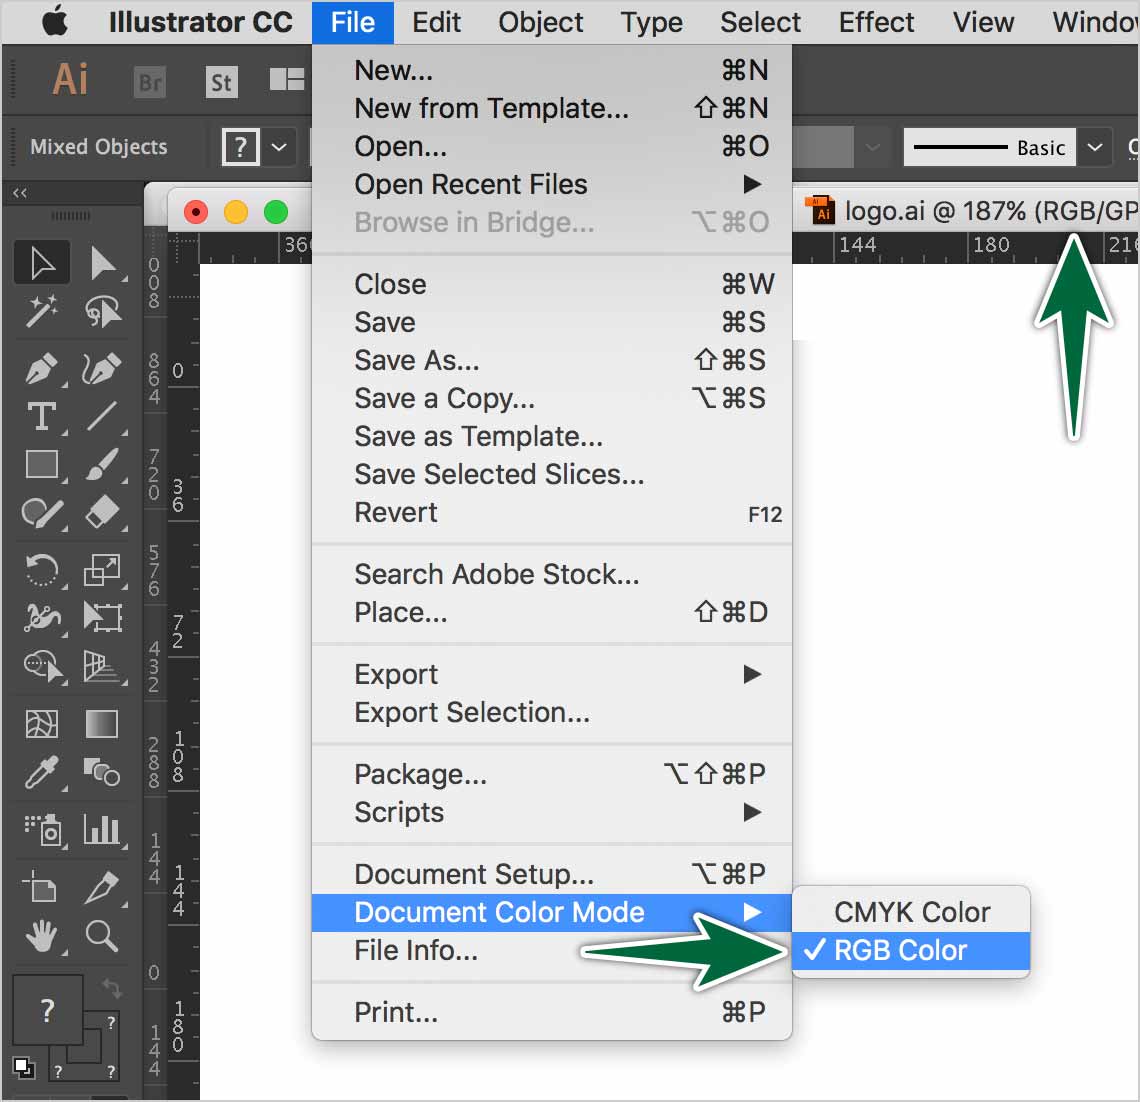
Once you’ve converted a copy of your artwork to RGB colour, it’s pretty straightforward to go from Illustrator to PDF. You can use a simple Save A Copy… command. That’s ⌥-⌘-S. Select the Smallest File Size preset.
On the off chance that you have raster (pixel-based) content in your Illustrator file, you need to ensure that it doesn’t get downsampled too much. Today’s monitors are so high resolution, a 72ppi image will look small or pixelated on screen. Keep in mind that the 5K iMac’s screen has a density of 218 ppi!
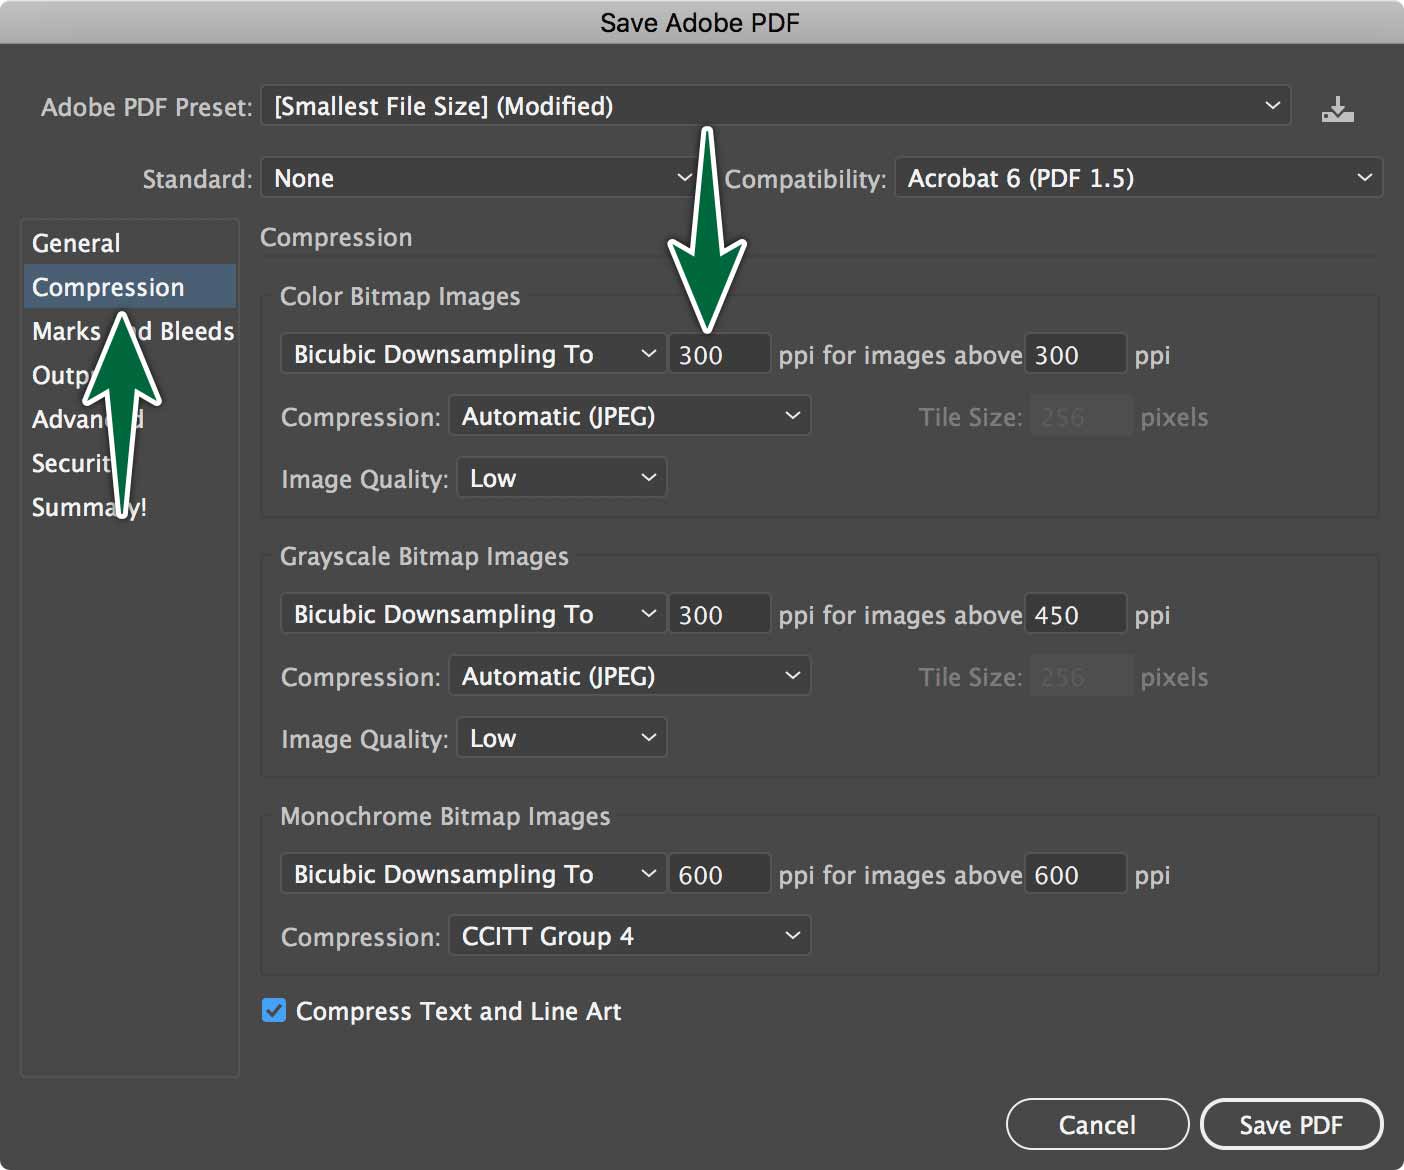
Go to the Compression pane in the PDF options to set the compression to 300ppi. This will increase your file size, but it will display well on screen. These compression settings are only relevant if you have raster content in your file. That can include a drop shadow effect and the like.
Photoshop to PDF
Create a new file in Photoshop using these dimensions: 3260 wide by 1830 tall in RGB. Resolution is irrelevant. This is mostly for on-screen use.
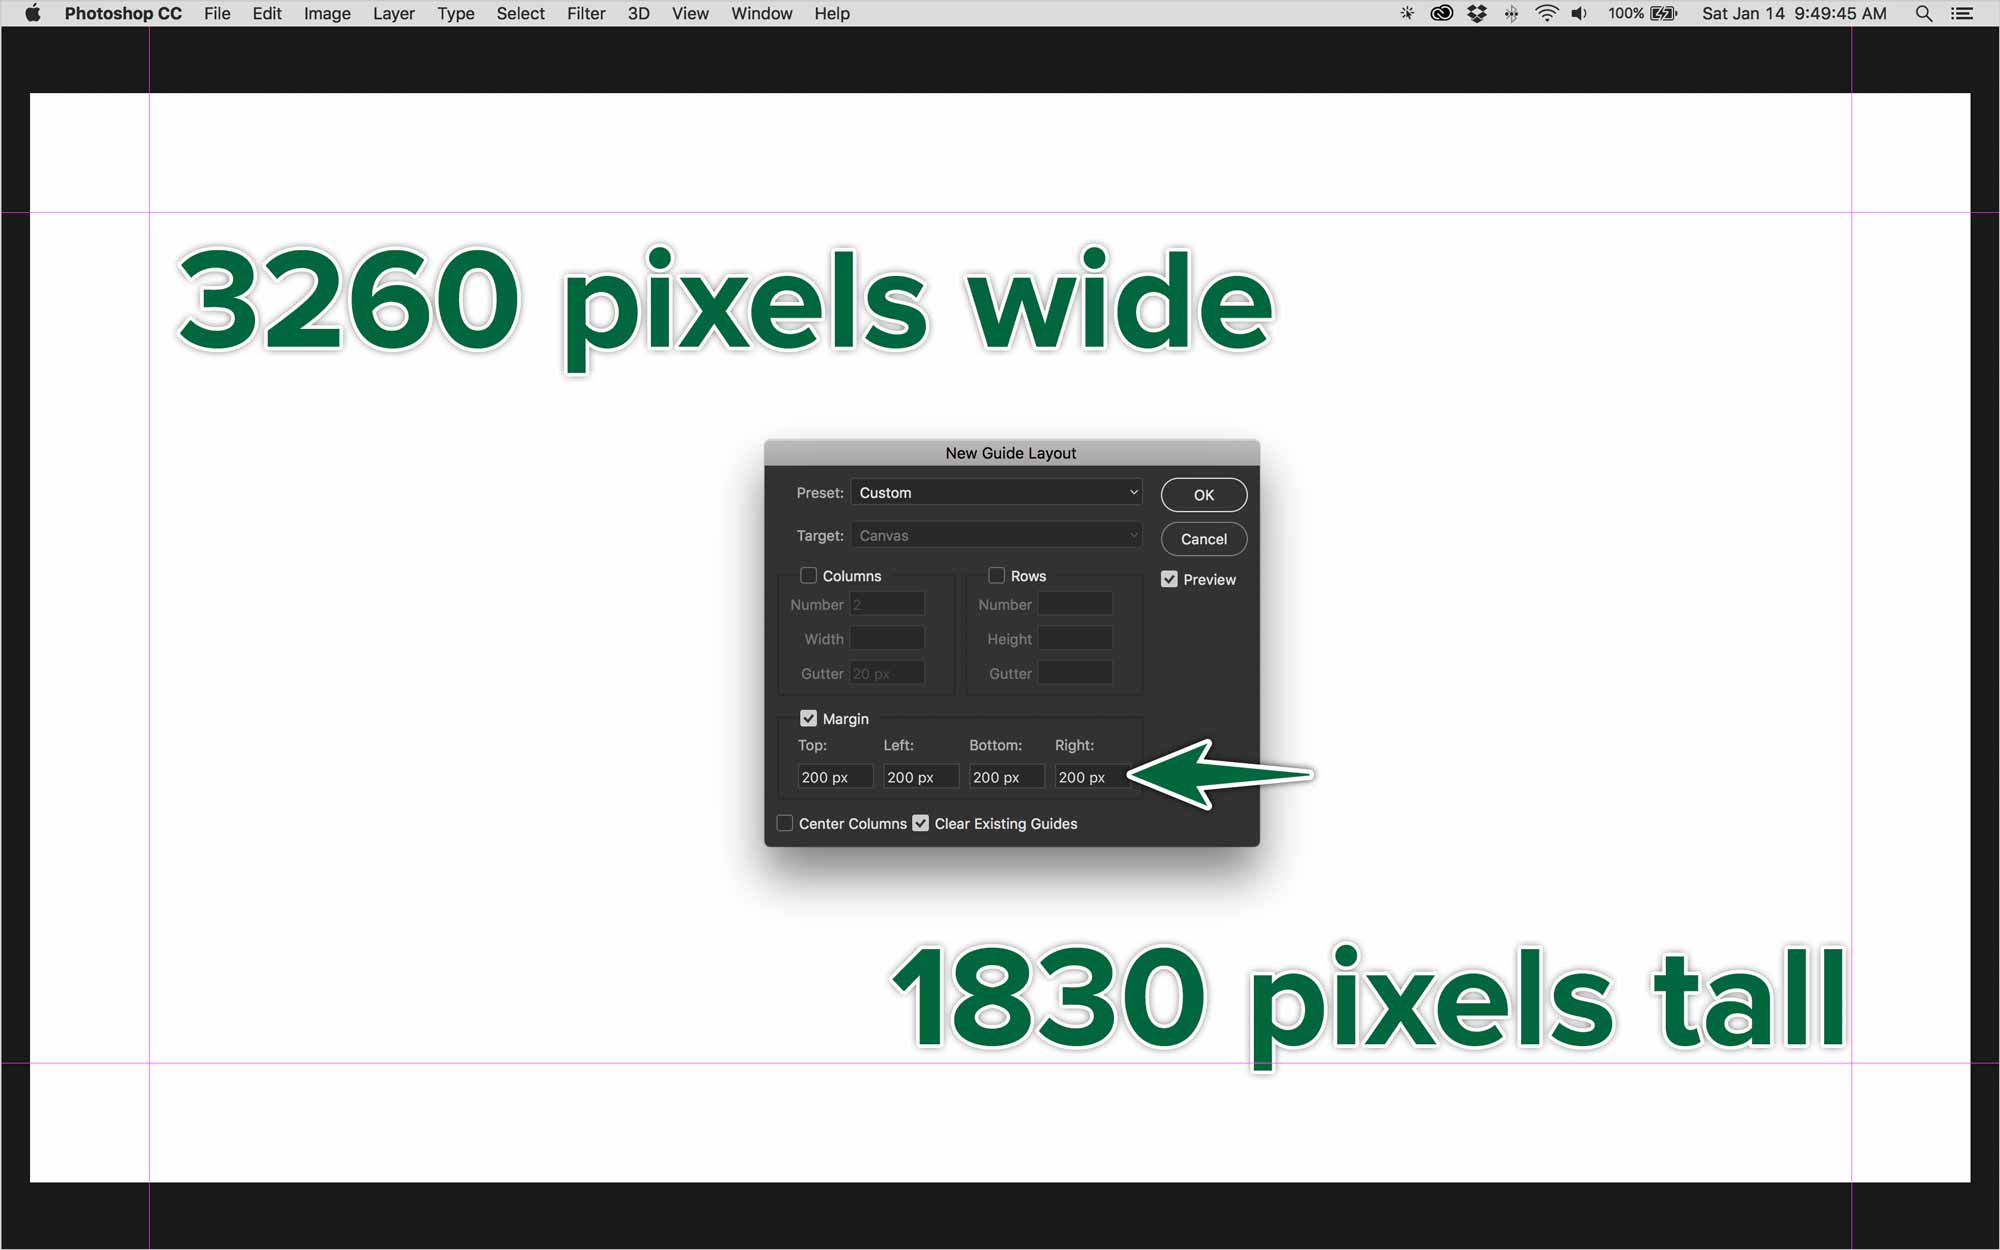
Save As…
We’re assuming that the majority of the content in your Photoshop files is raster. Merge your layers onto one using Shift-⌘-E. Transparency is okay. As long as you don’t have multiple layers in your file. Save out your file as a native Photoshop file (.psd). You can get this into your InDesign portfolio document with a regular File > Place…
InDesign to PDF
If you have native InDesign content to include in your portfolio, save the pages as a PDF file. You’ll place those PDFs back in your portfolio InDesign document. When saving them as PDF, you can use the default Interactive PDF preset.

Once you’re in your InDesign portfolio document, you’ll use File > Place… to import the PDF.
Video to PDF
InDesign is capable of importing video, then exporting it as an interactive PDF file. It imports a video file just like a regular image. You use File > Place… to import it into the document. Either click or click and drag to size the video on the page.
Video Formats & Options
Export an MP4 (with h.264 encoding) for video or an MP3 for audio so that it plays properly in your interactivec PDF file.
There are two ways to get video into a PDF. The first is to place it like an image in InDesign. The second is to place it in a PDF file using the media tools in Acrobat DC.
Video in InDesign
Use the File > Place… command to import the video on an InDesign page.
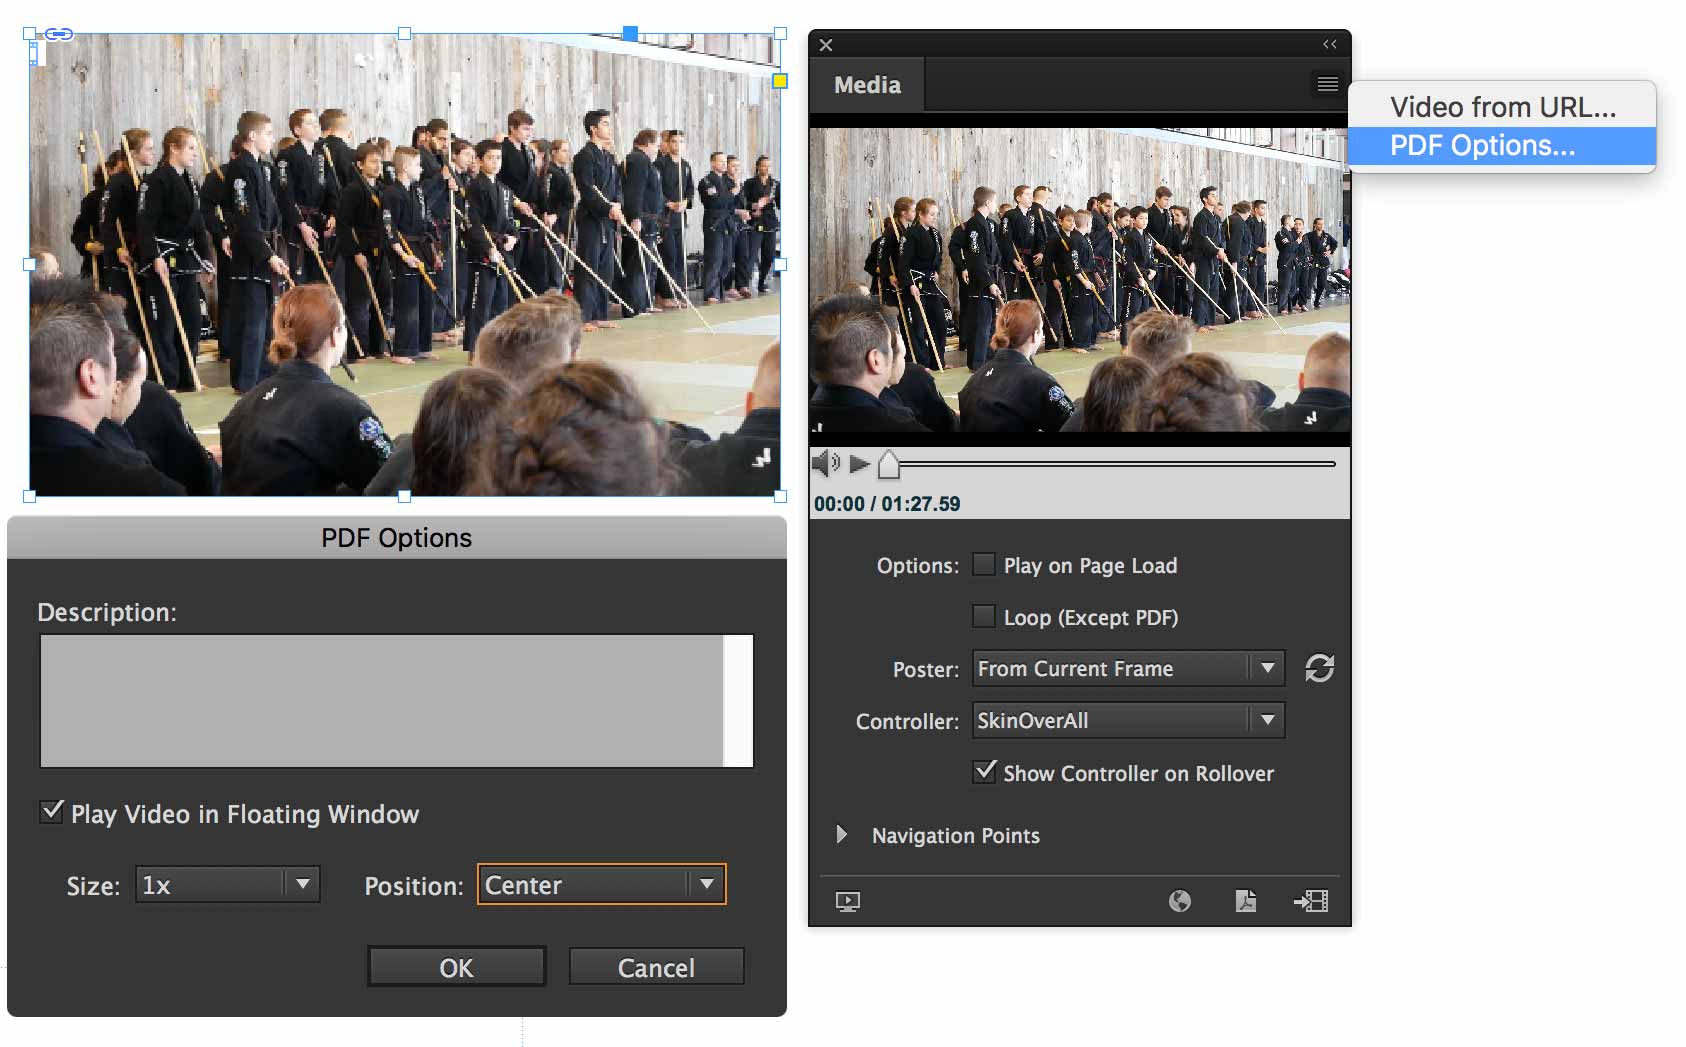
Go Window > Interactive > Media to use the Media panel to preview the file. You can also change its settings from that panel. I suggest choosing an appropriate poster frame for your video so it looks good while it’s not playing. You can even load a custom graphic as a poster frame, if you wish to.
Video in Acrobat DC
Alternatively, you can import a video file onto a PDF page right from Acrobat DC. You’ll need a blank page. So when you’re in InDesign, create a new empty page where you plan to place a video file.
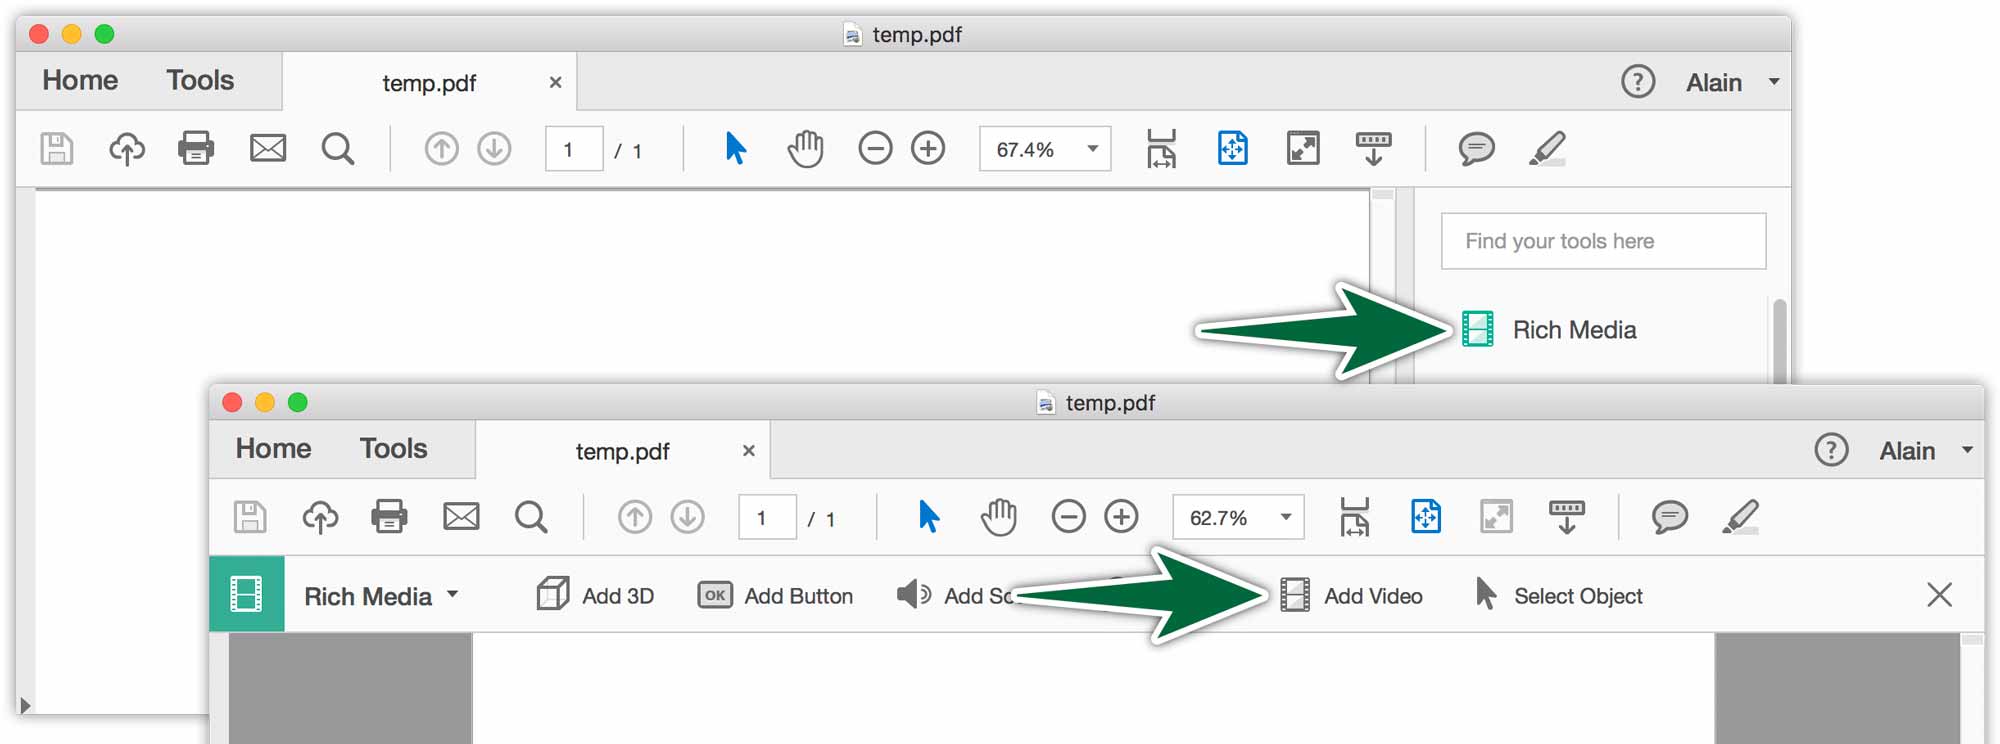
Once in Acrobat DC, you need access to the Rich Media button. If you don’t see it in the sidebar, click on the Tools tab. Drag the Rich Media button to the sidebar. To add a video, simply drag with the Add Video tool on the page.
Final Steps
Once you’ve saved your portfolio PDF file, you’ll need to make sure your presentation is simple. In Acroabt, go File > Properties…. Click on the Initial View tab.
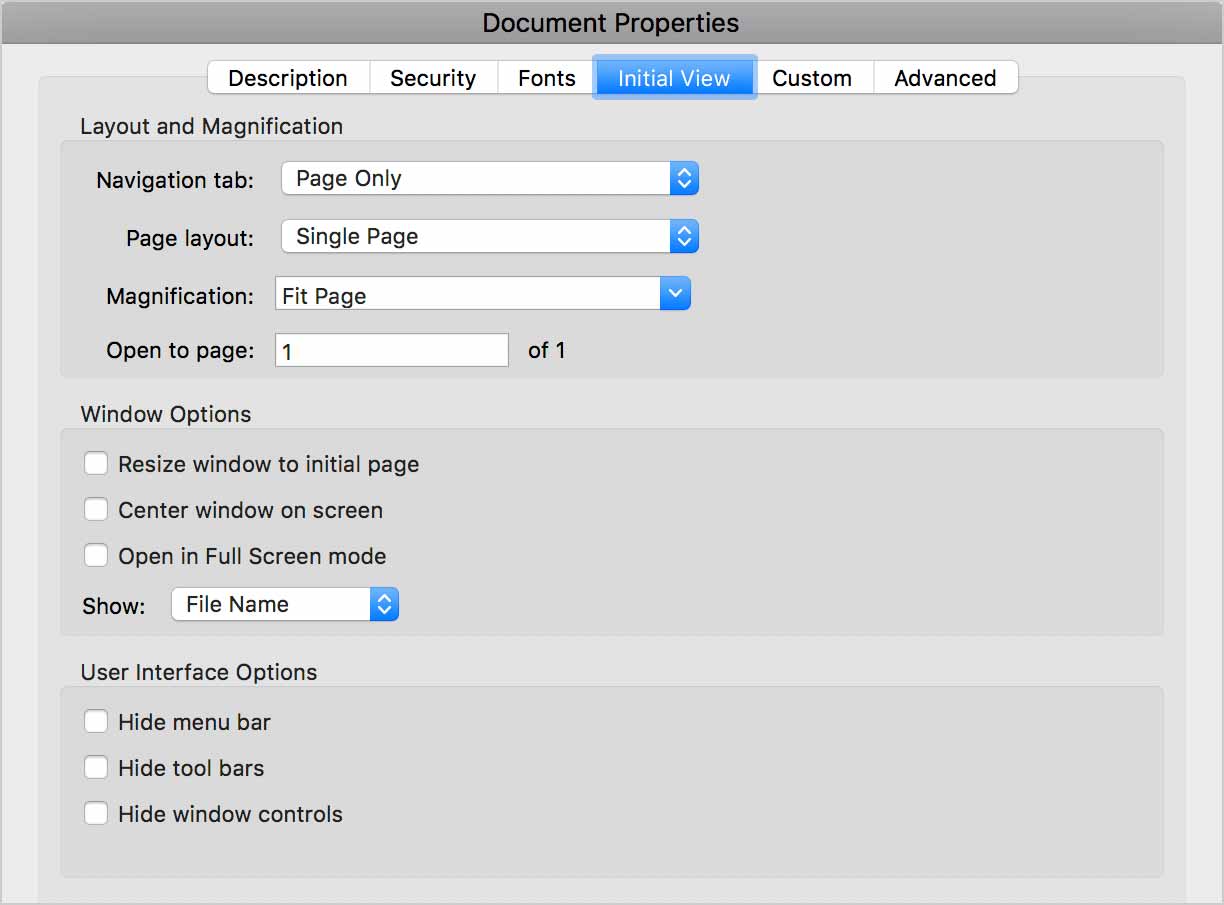
This will make it that the PDF file will open with only the page showing and no sidebars. The Page Layout setting will display only full pages. It makes it that you don’t see a partial page as you scroll. It’s not advisable to use the full screen settings here. We don’t want the file to open full screen for other users you share the PDF with. To enter full screen yourself, you simply need to use ⌘-L.


